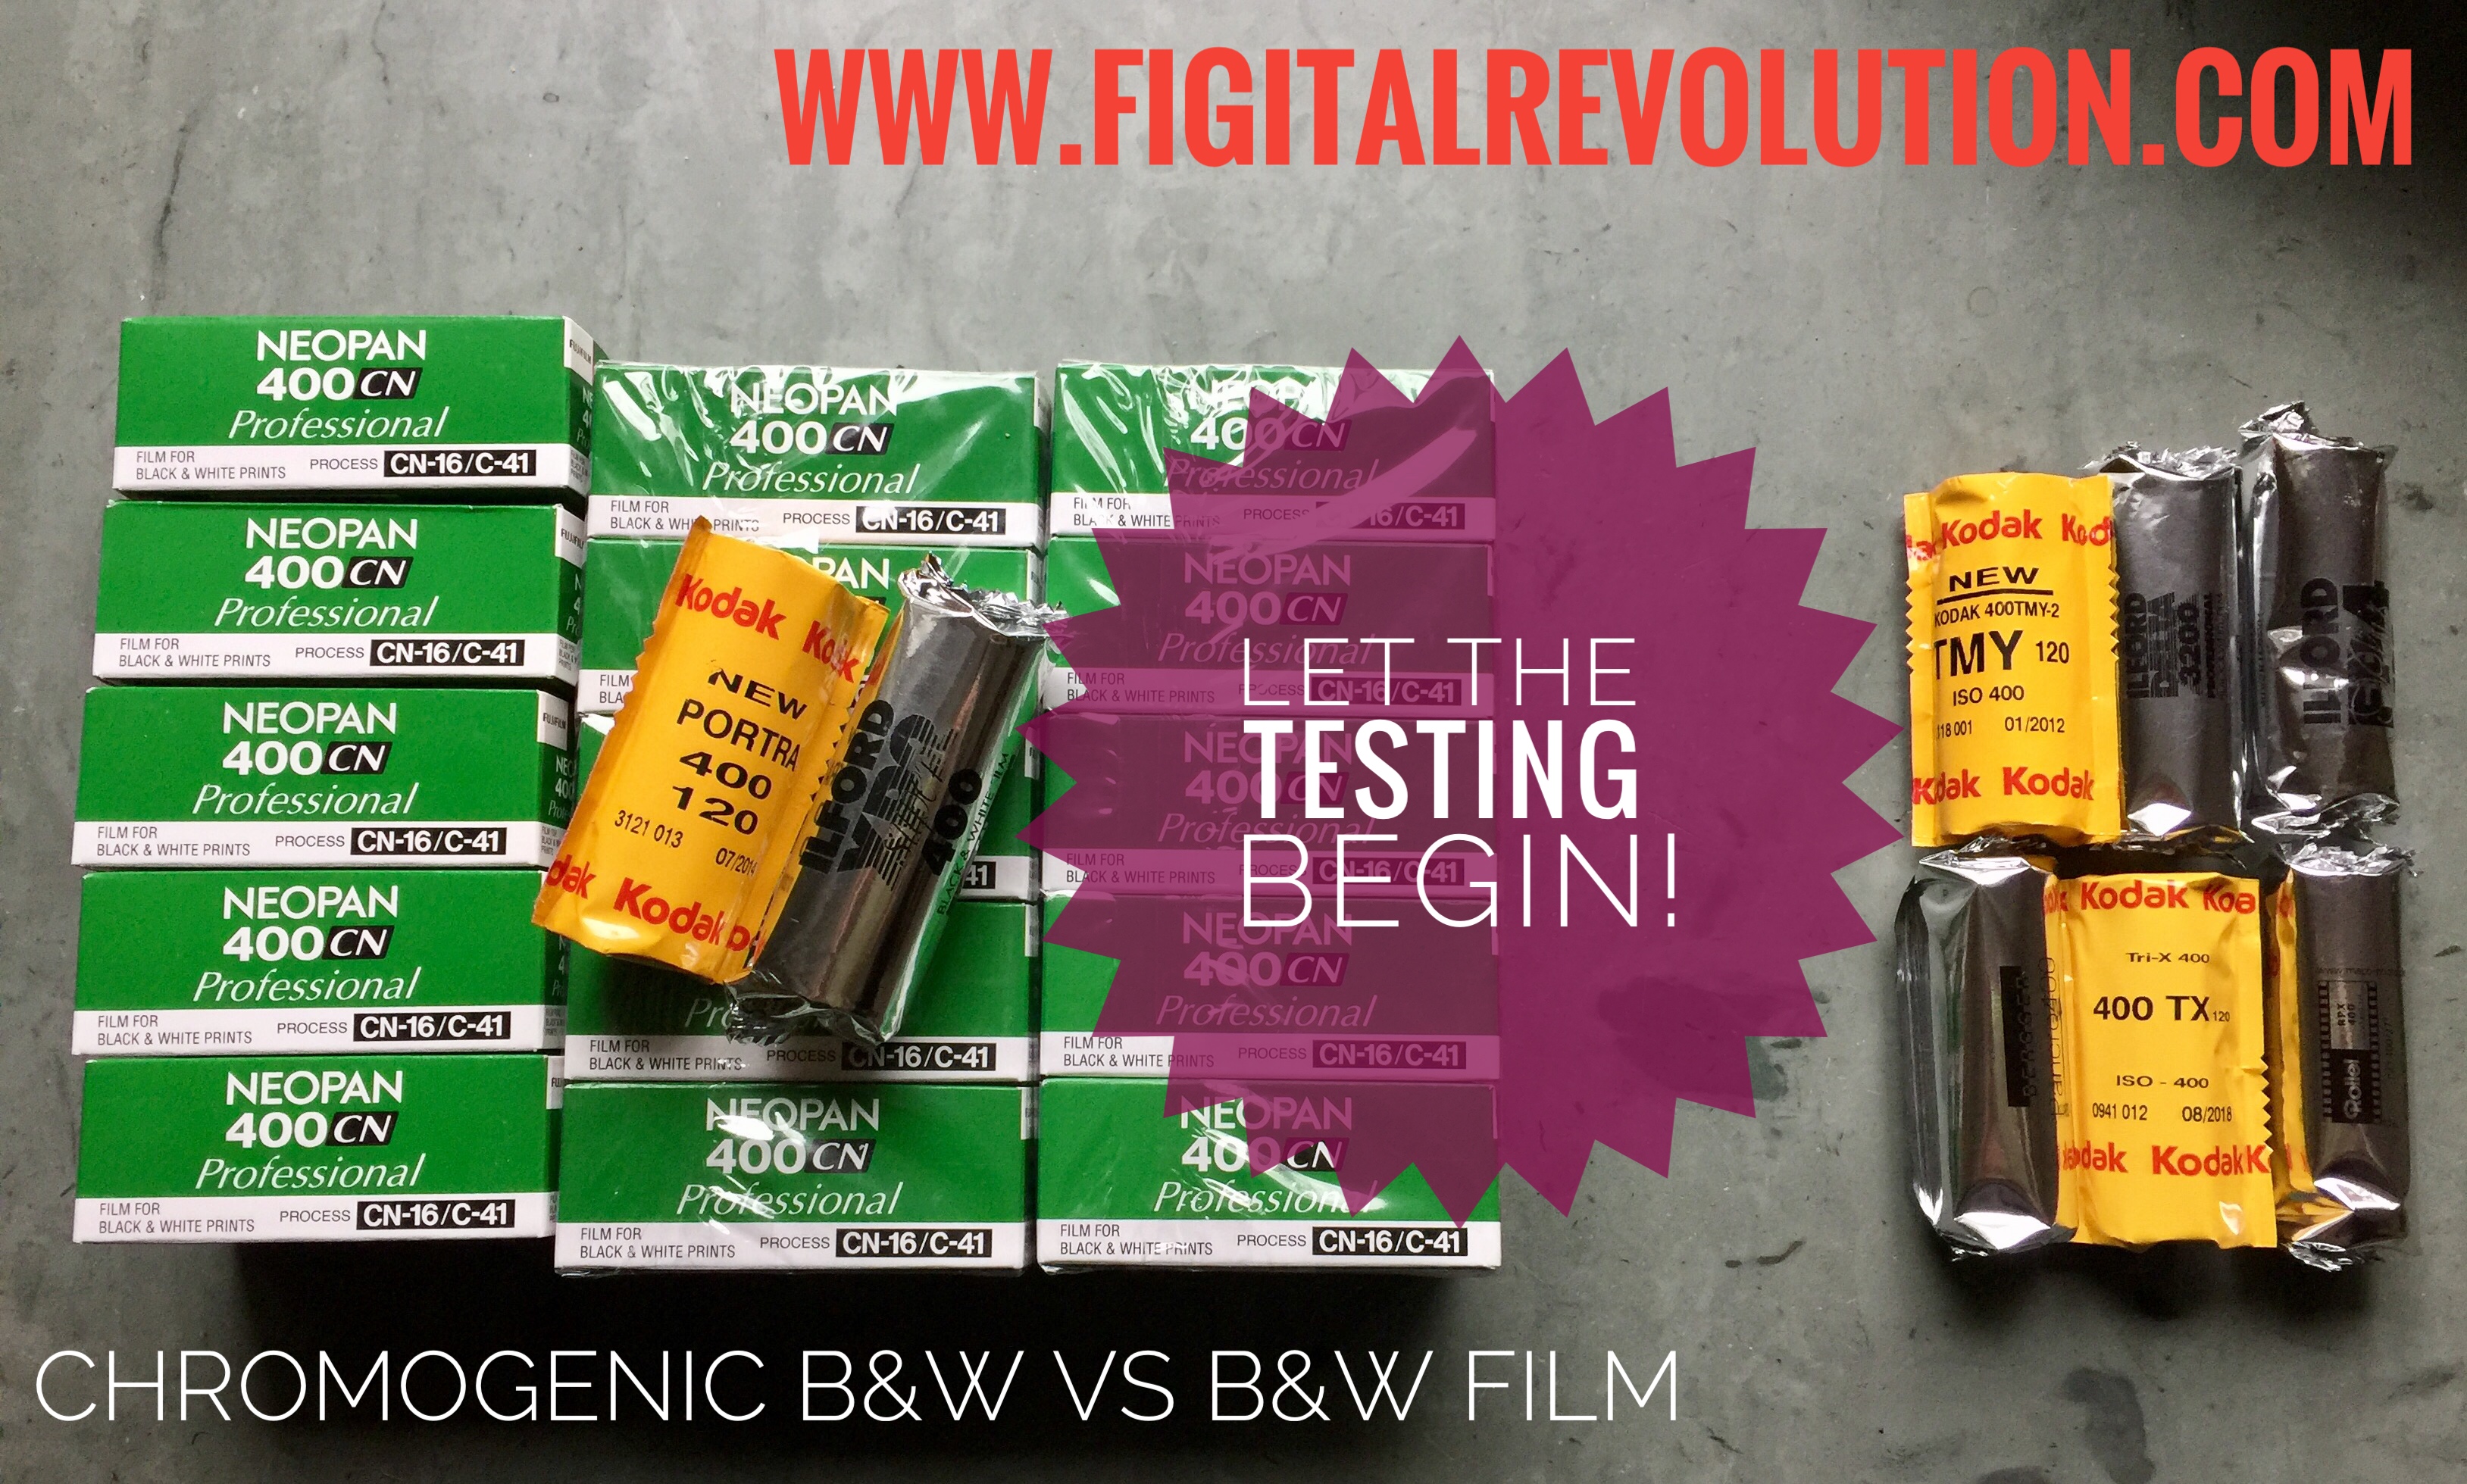
Running a test with my new ORTHOTOPOSCOPE SS camera (6×12) and a non optimized pinhole of around F70 (optimized is around F130 for the 25mm focal length). I am looking at the following films with EI from approx 100-1600 all in developers I have found that works best for maximum compensation and best overall tonality with each specific film. Reciprocity corrections were kept to just a gerous doubling to time— with this type of camera and work I like to keep it simple if possible. Exposures ranged from 1 second to 30 seconds all handheld as that is my standard way of shooting with a pinhole system.
400TX • Diafine
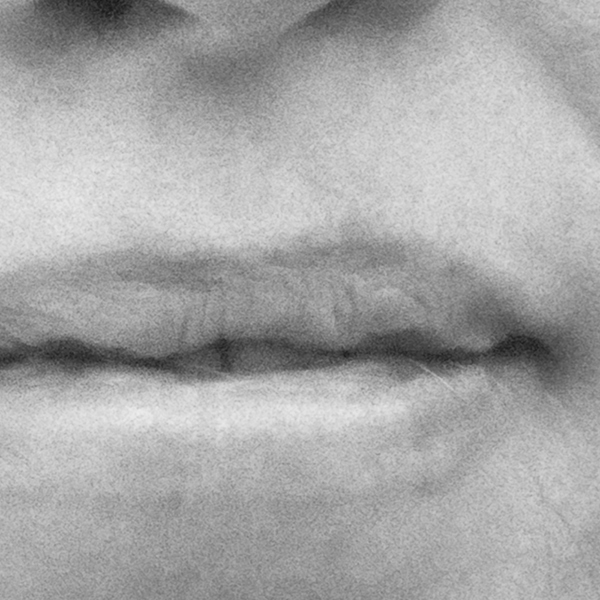
400Tmax • 510 Pyro
Delta 3200 • 510 Pyro
Fuji 400CN • C41
Portra 400 • C41
CineStill 800T • C41
All test results will be converted to B&W as that is my current need with these materials.
UPDATE: So I’ve looked at the film and I am very drawn to the Porta 400 and VERY drawn to the Cinestill 800T when both are converted to B&W. The regular B&W film was amazing but due to the pinhole capture I had a lot more range of possibilities in the conversion process that really helped to bring out crazy tonal separation in the two color negative materials.
I am heading to the Cotswolds (UK) in just over a week and running one last set of tests over the next few days…. looking at chromogenic B&W films (and converted Portra 400) compared to traditional B&W films processed in Pyro 510 (stand development)… all for the purposes of scanning.
Stay tuned!
PS- and yes that is Fuji Neopan 400CN… very hard to get here in the USA as it is not imported… made by Ilford for Fuji, based on XP2 Super but it is a different film made to Fuji Specs… time will tell.
Here is a quick technique I use from time to time to get the maximum usable dynamic range out of film on a contrasty scene.
Film: Kodak TMAX 400 (TMY-2)
Developer: PMK 1:2:100 @70 F (Mixed with Distilled H2O)
Please note: If you have never used PMK developer understand that it requires careful handling… always wear gloves and use safe chemical handling techniques as it can be quite toxic. Also with T Grain films the temperature is important so use a water bath to maintain 70 F during processing.
Exposure:
Expose the scene for the shadows… if you have a spot meter make sure you have a solid Zone III…. don’t worry about the highlights as they will be just fine. (Stay tuned for my review of the new spot meter by Metered Light!)
Once you have your exposure figured out overexpose by 3 stops. You could always just set your meter to an EI of 50 instead of the normal 400 for TMY-2 (this is what I do). In simplest terms we are overexposing by 3 stops and developing for 50% of our normal time. The developing procedure listed below represents a 50% reduction in development time from my normal with this film / developer combination. This technique will work for different films with PMK as long as you follow the simple rule…. overexpose by 3 stops and reduce your development time by 50%.
Processing:
1. Pre-wet- 1 minute at 70F, constant agitation (distilled H2O).
2. Developer: PMK for 7.5 minutes (1+2+100). Continuous agitation for the first 30 seconds then one inversion every 15 seconds till completed time. Save the used developer as you will use it again in the after bath.
3. Stop: Tap water, 2 minutes fill and dump with agitation. Do not use anything but water!
4. Fixer: TF-4 for 5 minutes, follow package directions. Only use TF-4 fixer!
5. After Bath: For those of you not use to using PMK you reuse the saved exhausted developer by dumping it into the tank for a second time after the fixer which will increase the image stain. 2 minutes with standard agitation. There are schools of thought that suggest that the after-bath is not important… with some films like 400TX I would agree but with this technique and film it is a good thing in my opinion.
6. Wash for 30 minutes.
7. Wetting Agent.
8. Dry.
Note: This technique as outlined here is for scanning purposes and I have not tested it for wet darkroom usage so I do not know how well it would work, BUT- for scanning it is fantastic. I would only use this technique for situations where the contrast / dynamic range is well beyond “normal”… this plus a bit of pre-exposure goes a long ways (no pre-exposure was used on this image but I will write an article on this technique very soon)! I have tested it on “normal” scenes with success, but it does require a bit more work in Photoshop to correct for the huge expressive shadows and somewhat flattened highlights, so it is best to use this for high contrast scenes.
So the results….drumroll please…
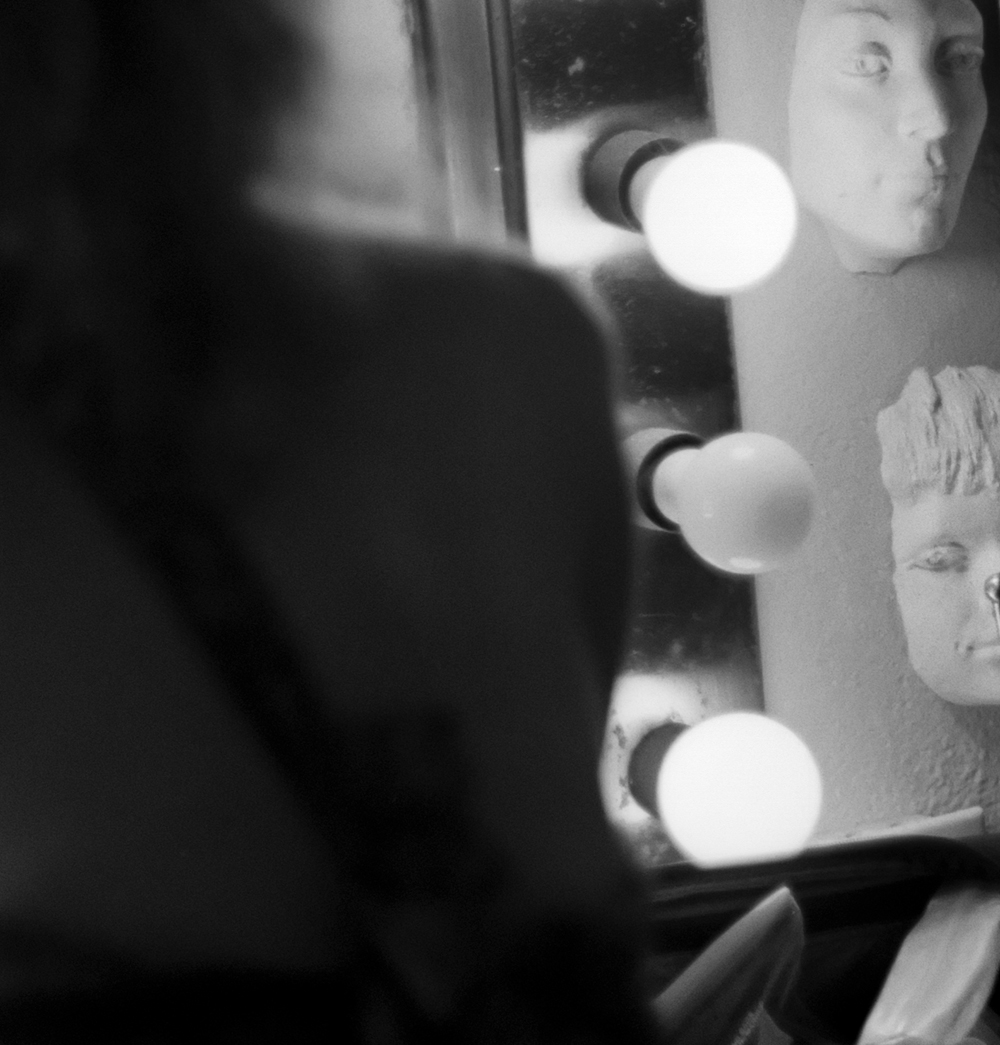
Inside Indian Hill Imageworks
In the image above the shadows (Zone III) were placed on the dark barn board above the windows… the snow outside which was in direct sunlight was 17 stops brighter… this is a straight scan on our Imacon… no dodging or burning! There were no lights on inside the building so it was quite dark. In Photoshop I added a minor “S” curve but nothing else. The grain is very nice and controlled for 35mm. The snow outside the window has nice detail (not sure how well that reads in the online image)… nothing is lost on either end.
I chose TMY-2 for this test as it is box speed in PMK and it is a film I really like… another good choice would be TMAX 100 which is also box speed but with the 3 stop overexposure you have a working film speed of 12… time to break out the tripod!
In this audio blog I discuss my testing results for Kodak P3200 at an EI of 6400 for hand-held pinhole and zone plate photography as well as the new direction Part 3 in this series will explore. Click on the Audio Logo to listen…
LINK: TMY-2 @ 1600 article here on FR.
Exposure Index- “EI”- is your personal speed setting for a particular film and developer combo that in most cases is different than the manufacturers posted ISO or ASA data (lots of reasons for this difference) and it reflects a photographer’s specific film requirements with regards to shadow and highlight detail, contrast, grain, etc… Many photographers do extensive testing to determine the best EI for a particular film and developer combo but in the end most photographers settle for a single EI and developer time for a particular film. An example would be- “I shoot Kodak TX at an EI of 1250 and process in Diafine 3+3 at 70F.”
Now for the Diafine Twist:
That tested EI is not the “only perfect EI” but rather just one possible working EI when using Diafine Developer. For example, I have determined that TX processed in Diafine at 3+3 has a USABLE EI range of 400-1250/ 1600…that means that I can rate it at 400 or I can rate it at 1250 if I need to or I can rate it at any in between EI based on subject exposure requirements- there is enough latitude with regards to exposure and development with TX and Diafine that both of these EI are possible for scanning purposes and produce brillant negatives…even one shot right after another on the same roll at a different EI, each would get the same processing time in Diafine– it is like working with the very forgiving Ilford XP2 Super which can handle a range from EI 100-800 (C-41 film) but with real B&W film! (Note: I love XP2 Super but it is a very different looking beast than conventional B&W film.) With a “normal” developer, say D-76, you would need to increase or decrease your development time or temp or both if you changed your EI beyond half a stop with most black and white films.
So here are a few films I use with their USABLE EI range based on my testing. (NOTE: all USABLE EI listed are for Diafine Processing as outlined here on Figital Revolution.)
TX: 400-1250/ 1600 (3+3 at 70F)
125PX: 125-400 (3+3 at 70F)
Fuji Acros: 100-200 (4.5 + 4.5 at 70F)
TMY-2: 400-640 (3+3 at 70F)
FP4+: 100-225 (3+3 at 70F)
Final Thought…why would you want to have a different EI for the same film or know the EI range for a particular film? The answer is flexability (how much can I over or under expose and still get a good negative)- with this approach and knowledge let’s say, for example, I am working with a film like Kodak TX-just load a roll in the morning and start shooting and adjust your USABLE or “flexible” EI as the day and lighting change… when you’re done just process the whole roll with your normal Diafine processing time and scan away! The results are consistantly USABLE and amazing.
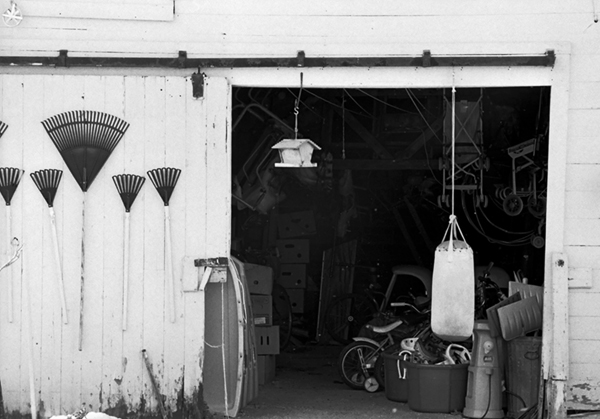
If you’re like me you’re always on the lookout for a great black and white film/ developer combo for scanning. I’ve tried many different films and developers and then recently stumbled upon the great marriage of Diafine and TX (Kodak Tri-x)…my new standard. Watch the videos below to learn more about this dynamic combination and for tips on proper processing techniques as well as a few quick tips on scanning black and white negatives. Be sure to also check out my sample pictures under the videos to see just how good it is. (Click on the images for a larger view.)
Video:
Please note that due to YouTube 10 minute video limit I had to break this 12 minute discussion into two parts. (Be sure to watch both videos!)
Video 1
Video 2
Example Pictures:
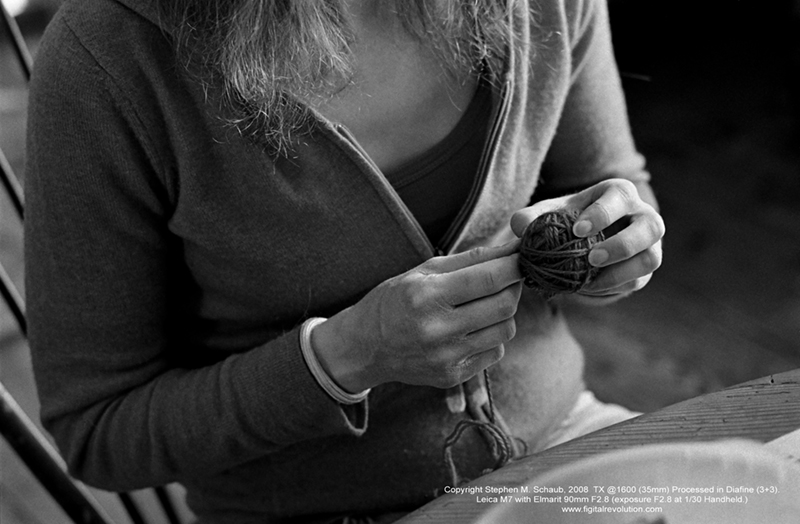
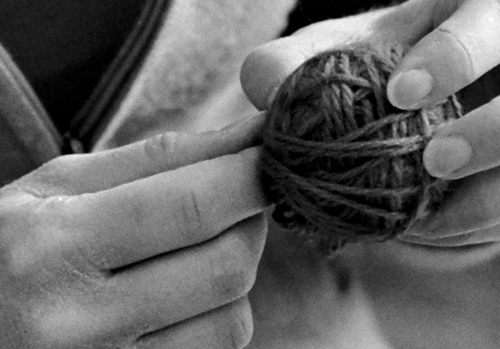
This image illustrates the huge dynamic range possible with TX and Diafine. In this example TX was rated at 1600, 35mm. (Check out that shadow detail!)
This example is TX at 1600 in low flat lighting…the full print size is 16″x24″ and the crop is a 4″x6″ section out of the full image area. Film size: 35mm
This example and the close up represent TX at 1600. The final image size (print) is 16″x24″ and the crop represents a 3″x3″ area of the final image at full size. Remember…this is TX at 1600 in 35mm!!
Processing Information for Tested Films:
Fuji Acros 100 EI 200 70-75 5+5 (Best choice for really big enlargements and where an EI of 200 is ok.)
FP4 EI 200-250 70-75 3+3 (Very nice but I prefer PMK for FP4).
TMY-2 EI 500-640 70-75 3+3 (Very nice combo but I’d stick with Xtol or D76 1:1…see my review of this film here on the Figital Revolution.)
TX EI 1250-1600 70-75 3+3 (My personal favorite and my new everyday film. I also keep an ND filter with me (.9) for the bright afternoon light and just remove it as the day ends so I can shoot this film all day long on my M7 with no worries!)
All chemicals are mixed with distilled water. Processing is done by hand with stainless steel tanks and reels.
I will be posting Part 2 in a few days which will cover my scanning techniques (specific and general) as well as basic file handling. Part 3 (next week) will focus on the final print and have a demo (yes another video) on hand coating your own paper for inkjet. Stay Tuned!!
For a quick audioblog on my printing techniques and my thoughts on tonality just click on this link: A Fear of Gray
All images and video Copyright Stephen M. Schaub 2008
As promised here is a sample image (my wife Eve Ogden Schaub of Life=Art) in Puerto Rico pushing the new TMY-2 (Tmax 400) to an E.I. of 1600 and processed in Xtol Straight using Kodak’s suggested time/ temp . The light was very, very low as even at an E.I. of 1600 my exposure was still 1/8 at F1.4 (hand-held.) The image was made with a Leica M7 with a 50mm Summilux.
So what are my thoughts????
Please note: click on the thumbnails for a larger view.
1. Of course there is more grain than the 400 speed test I posted a few days ago (click here) but not a lot considering this is a 2 stop push! It is not as crisp and lacks some fine image detail as the other test image had due to the increased grain and I am sure the slow shutter speed and the f1.4 working f stop ( I do the best I can, but on 10 shots of espresso a day what do you expect?)
2. Good shadow detail and the highlights still have nice separation especially considering the light source.
3. Easy to scan- no problems with excessive contrast or anything…the scan was as easy as my last test scan. (Scanned on an Imacon Scanner at 3200 dpi, 16 Bit, wet mount, no sharpening.)
So what does this mean??? Where do we (I) go from here?
Well I for one will shoot this film as my NEW primary film at box speed (400) – but it is nice to know that in a pinch I can push this film to meet my needs no matter what they are… I am going to continue my exploration of different developers (stay tuned!!) for this film, but for now- Xtol works fine. Once again in my opinion – Kudos to Kodak! (It’s been a long while since I’ve been able to say that twice in one week!)
Kodak IMHO hit a home run with the new TMAX 400. I’ve been testing the 35mm version- (the box says world’s sharpest 400… and it is!) and having now shot around 30 rolls of this film in Puerto Rico and tested a few more here in Vermont here are some initial thoughts (note- please be sure to click on the images to get a larger view):
1. I tried 3 different developers (D-76, XTOL and PMK… XTOL Straight wins hands down.)
2. True 400 speed in XTOL.
3. Extremely fine grain with a very, very nice tonality…MY NEW FAVORITE FILM!!!
4. I feel that the times posted by Kodak for this new film are pretty darn good- at least the Xtol processing time/ temp produces negs that scan perfectly.
I have posted an example snapshot I took of my wife Eve Ogden Schaub of LIFE=ART while at lunch in Puerto Rico (my Pina Colada is just out of the frame). The image was shot on a Leica M7 with a Summilux 50mm F1.4 at F/2.8 (060 filter on lens). Be sure to check out the detail images as well as they really illustrate why I feel this film is a real winner (remember…this is 35mm 400 speed film!)
The scan was done on our Imacon at 6300dpi, 16 Bit, Wet Mount. Printed at 16″ x 24″ on our d’Vinci Fine Art Printer it blows me away that this is 35mm. Go get this film NOW! This is a film we as photographers should support as it is fantastic (and how often can you say that these days?)
Please note that there is quite a bit of old stock TMAX 400 out there (I don’t like the old film at all)…the new version has only been out since Oct/ Nov 2007 and can be a bit hard to find. The box should have a red rectangle that says “World’s Sharpest !” The Catalog Number is: 894 7947…I purchased mine from a Calumet Store.
Here is a sample preview of my new artworks from Puerto Rico (These are from my Fragment Series). The image is 36″ x36″!
Viva La Revolution!!
Please note all images Copyright Stephen M. Schaub 2008
Hybrid Artist Stephen M. Schaub summarizes his 2 week photographic excursion in Puerto Rico with suggestions and real world shooting solutions for the working photographer. Upcoming related audioblogs will include: film tests for the new Kodak TMY-2 (TMAX 400) and The Y Strap User Report.
During the next two weeks I will be photographing in the rainforest of Puerto Rico and surrounding areas. During this time I will be testing the new Kodak TMAX 400 (35mm) film and plan on a full report upon my return. Initial testing done by me at Indian Hill Imageworks indicates that this may be my new favorite film (best 400 speed I’ve ever seen)…amazing grain (almost as good as most 100 speed films) with a huge tonal range. Stay tuned!

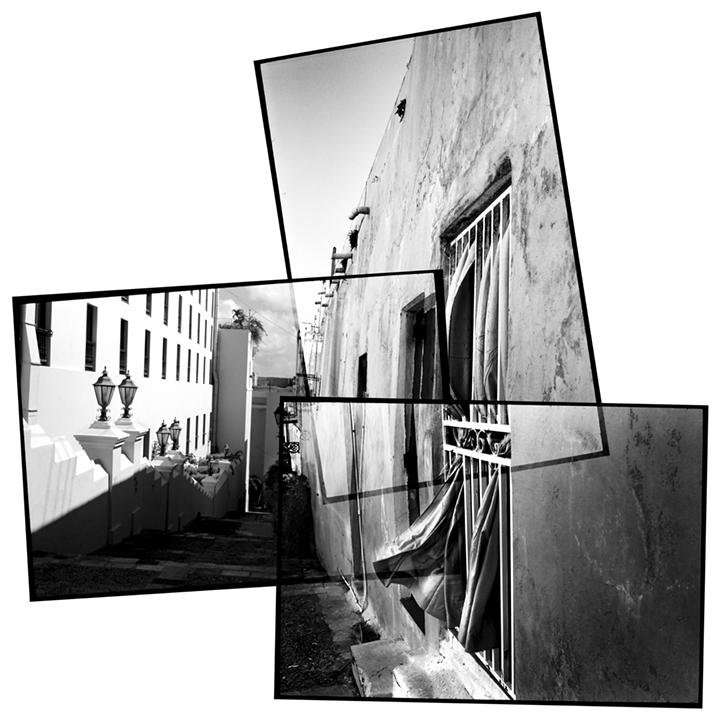
 Running a test with my new ORTHOTOPOSCOPE SS camera (6×12) and a non optimized pinhole of around F70 (optimized is around F130 for the 25mm focal length). I am looking at the following films with EI from approx 100-1600 all in developers I have found that works best for maximum compensation and best overall tonality with each specific film. Reciprocity corrections were kept to just a gerous doubling to time— with this type of camera and work I like to keep it simple if possible. Exposures ranged from 1 second to 30 seconds all handheld as that is my standard way of shooting with a pinhole system.