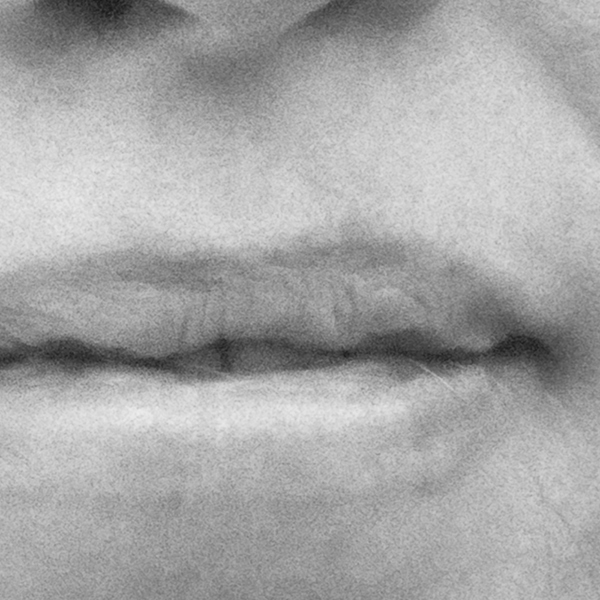
The image below is a 4″ x 4″ crop from a 20″ x 20″ file of Fuji Acros processed in my tweaked Caffenol C at EI 800!
The best range for the Acros in Caffenol C is around EI 100 – 400 but it is nice to know that 800 and beyond is also possible with nice grain and tonality.
Click on the audio logo to listen to this 10 minute discussion on my favorite films both black and white and color and which developer combo I use at Indian Hill Imageworks for the vast majority of my artworks.
Exciting news! I have just begun a new project called Vanishing Vermont which, when completed in a year or so, will be a show and book (co-authored with Eve Ogden Schaub) more information as the project develops…
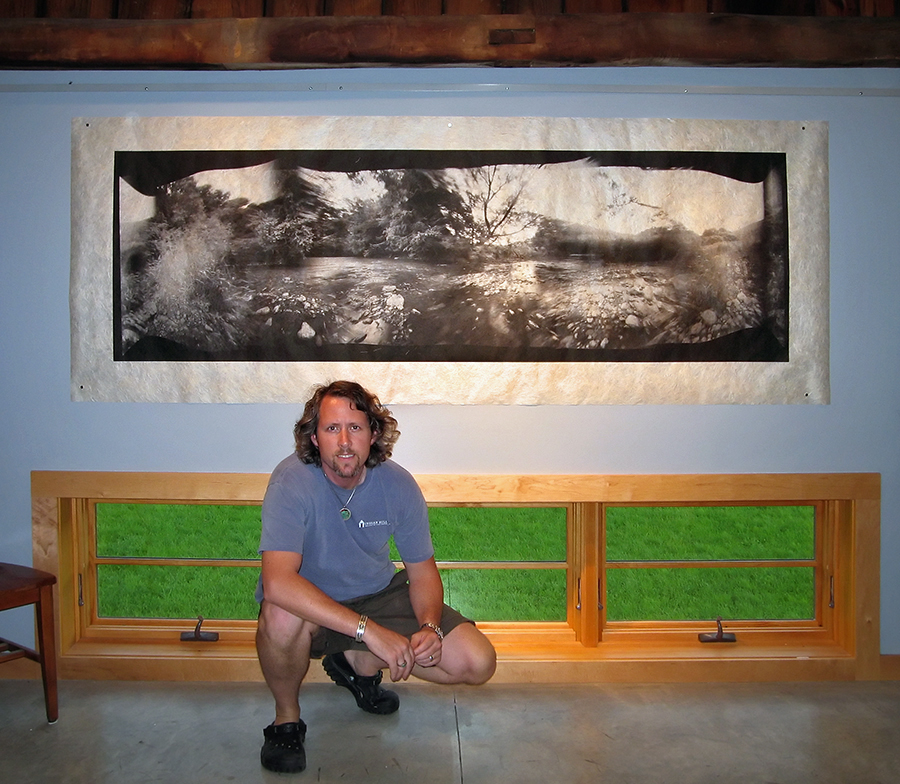
Meanwhile, I have spent the last few months testing different pinhole and zone plate camera systems and have settled on the Hexomniscope by Ableson Scope Works for these new artworks. I’m still in the early stages of working with this new system but the flexibility is amazing (as are the huge 6×17+ cm negatives!) Images are printed on Japanese Kinwashi as a d’Vinci Noir (image size: 28″ x 90″.) The camera is really quite small and weighs in at around 3lb.
I am off to California tomorrow for a bit of shooting (Yes with this camera) so stay tuned for a full report when I return.
In case you are wondering….Film: Fuji Acros processed in Diafine (of course), 360 degree image (6 images), 8 minutes at f/180.
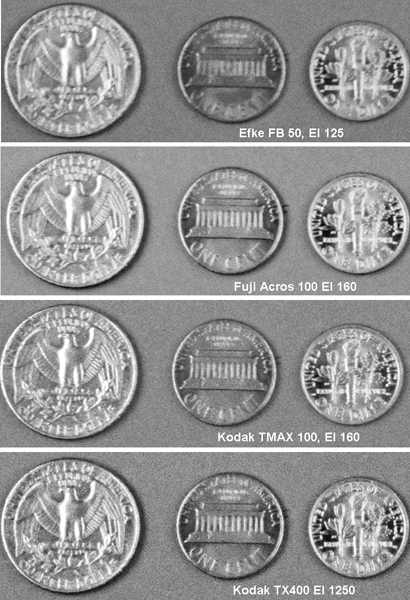
Here is something which is pretty straightforward and yet VERY interesting….a simple test target made by me to determine film sharpness and grain when processed in Diafine:
Lens to subject distance 55″
Leica M7 with a 90mm Elmarit F2.8 shot at F8
On a tripod with cable release.
Lighting, Wescott Spider Lights (5500 K)
All scan done on an Imacon Scanner (Wet Mount) 6300 optical dpi, 16 Bit.
Just click on the images below and check out the enlargement…the full size image (these are 35mm scanned negatives btw) would be 16″x 25″ at 360 dpi (optical resolution). No sharpening has been applied to the images but I did “try” to make them look as good as possible using levels and a little (I must stress the word little) noise reduction.
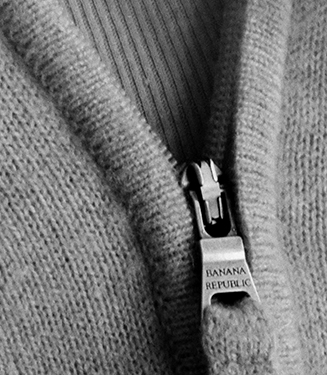
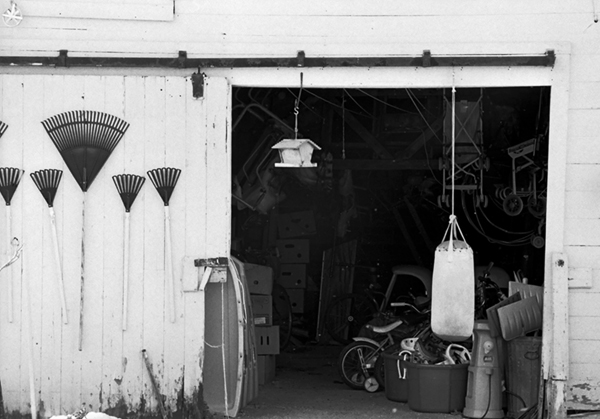
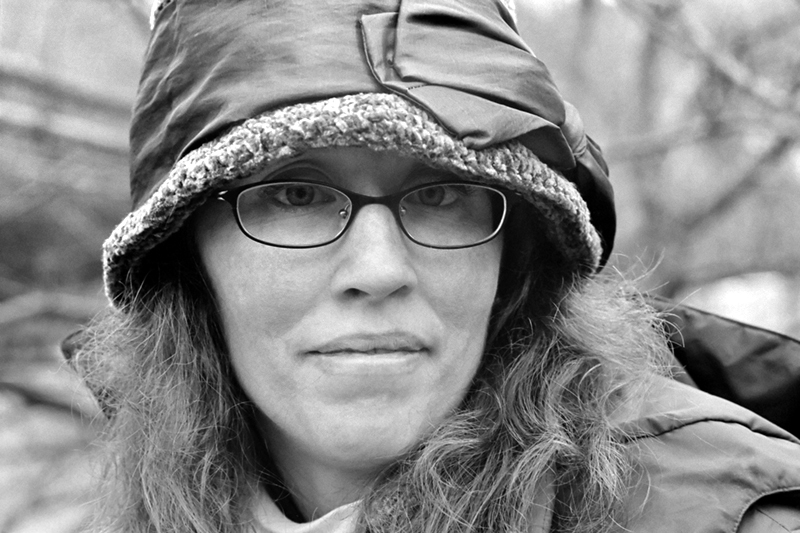
Finally part 2! Here are some sample images made on my M7 Leica and my Rollei 2.8 (F – 1960) using Fuji Acros at an EI of 160.
The two square images of course were shot with the Rollei (120mm) and the hand and zipper image was made with my Leica M7. Full size the Rollei images are 18″ x 18″ (142MB, 16 Bit, Grayscale, 120mm Negative, 3200 dpi scan) and the hand and zipper image is 16″x 24″ (160MB, 16 Bit, Grayscale, 35mm Negative, 6300 dpi scan). The detail crop of the zipper represents approx a 3″x4″ section of the larger 16″x24″ print…amazing!
Here is how I processed it…
Fuji Acros 100…EI 160
Diafine Developer at 68-72 F
Part A 4.5 minutes (two inversions every minute…gentle.)
Part B 4.5 minutes (two inversions every minute…gentle.)
Water Stop 1 minute Fill and Dump (68-72 F)
Fix Kodak Rapid (5 minutes)
Wash 1 minute running water (68-72 F)
Perma Wash 1 minute constant agitation
Wash 5 minutes (65-75 F)
LFN
Dry
For more information on the process and testing conducted please listen to the audioblog link below….
TIP– When your developer starts to get dirty…say after 30 plus rolls just run it through a coffee filter to “clean” it…use a different filter of course for each solution.
If you’re like me you’re always on the lookout for a great black and white film/ developer combo for scanning. I’ve tried many different films and developers and then recently stumbled upon the great marriage of Diafine and TX (Kodak Tri-x)…my new standard. Watch the videos below to learn more about this dynamic combination and for tips on proper processing techniques as well as a few quick tips on scanning black and white negatives. Be sure to also check out my sample pictures under the videos to see just how good it is. (Click on the images for a larger view.)
Video:
Please note that due to YouTube 10 minute video limit I had to break this 12 minute discussion into two parts. (Be sure to watch both videos!)
Video 1
Video 2
Example Pictures:
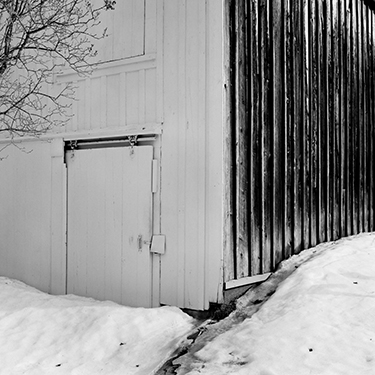
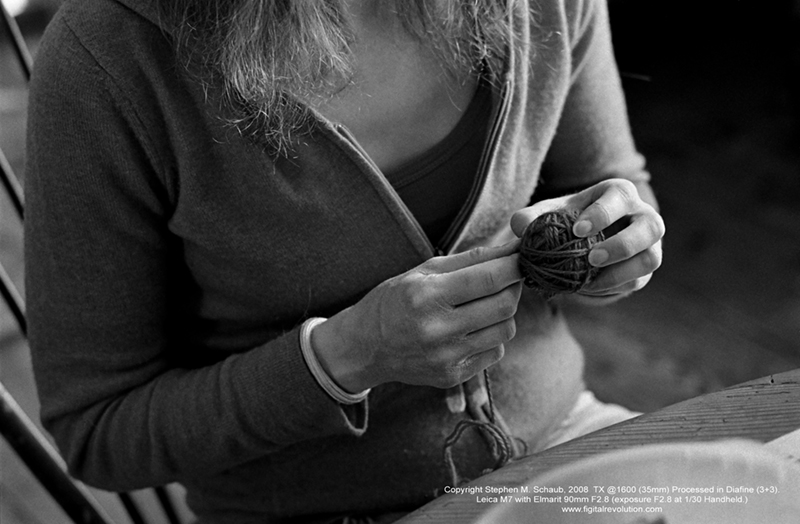
This image illustrates the huge dynamic range possible with TX and Diafine. In this example TX was rated at 1600, 35mm. (Check out that shadow detail!)
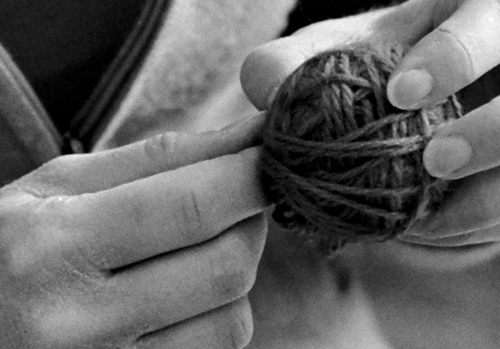
This example is TX at 1600 in low flat lighting…the full print size is 16″x24″ and the crop is a 4″x6″ section out of the full image area. Film size: 35mm
This example and the close up represent TX at 1600. The final image size (print) is 16″x24″ and the crop represents a 3″x3″ area of the final image at full size. Remember…this is TX at 1600 in 35mm!!
Processing Information for Tested Films:
Fuji Acros 100 EI 200 70-75 5+5 (Best choice for really big enlargements and where an EI of 200 is ok.)
FP4 EI 200-250 70-75 3+3 (Very nice but I prefer PMK for FP4).
TMY-2 EI 500-640 70-75 3+3 (Very nice combo but I’d stick with Xtol or D76 1:1…see my review of this film here on the Figital Revolution.)
TX EI 1250-1600 70-75 3+3 (My personal favorite and my new everyday film. I also keep an ND filter with me (.9) for the bright afternoon light and just remove it as the day ends so I can shoot this film all day long on my M7 with no worries!)
All chemicals are mixed with distilled water. Processing is done by hand with stainless steel tanks and reels.
I will be posting Part 2 in a few days which will cover my scanning techniques (specific and general) as well as basic file handling. Part 3 (next week) will focus on the final print and have a demo (yes another video) on hand coating your own paper for inkjet. Stay Tuned!!
For a quick audioblog on my printing techniques and my thoughts on tonality just click on this link: A Fear of Gray
All images and video Copyright Stephen M. Schaub 2008


 Exciting news! I have just begun a new project called Vanishing Vermont which, when completed in a year or so, will be a show and book (co-authored with Eve Ogden Schaub) more information as the project develops…
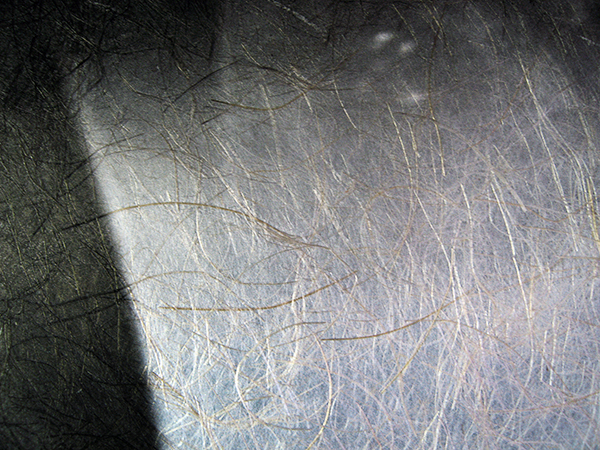


