
Listen to this exciting interview with Matt Abelson of Abelson Scope Works as he talks about his Pinhole Camera Systems(Hexomniscope, Omniscope and Pinhole Turret). Interview by Stephen Schaub.

Viva la Revolution!!
Listen to this exciting interview with Matt Abelson of Abelson Scope Works as he talks about his Pinhole Camera Systems(Hexomniscope, Omniscope and Pinhole Turret). Interview by Stephen Schaub.
Viva la Revolution!!
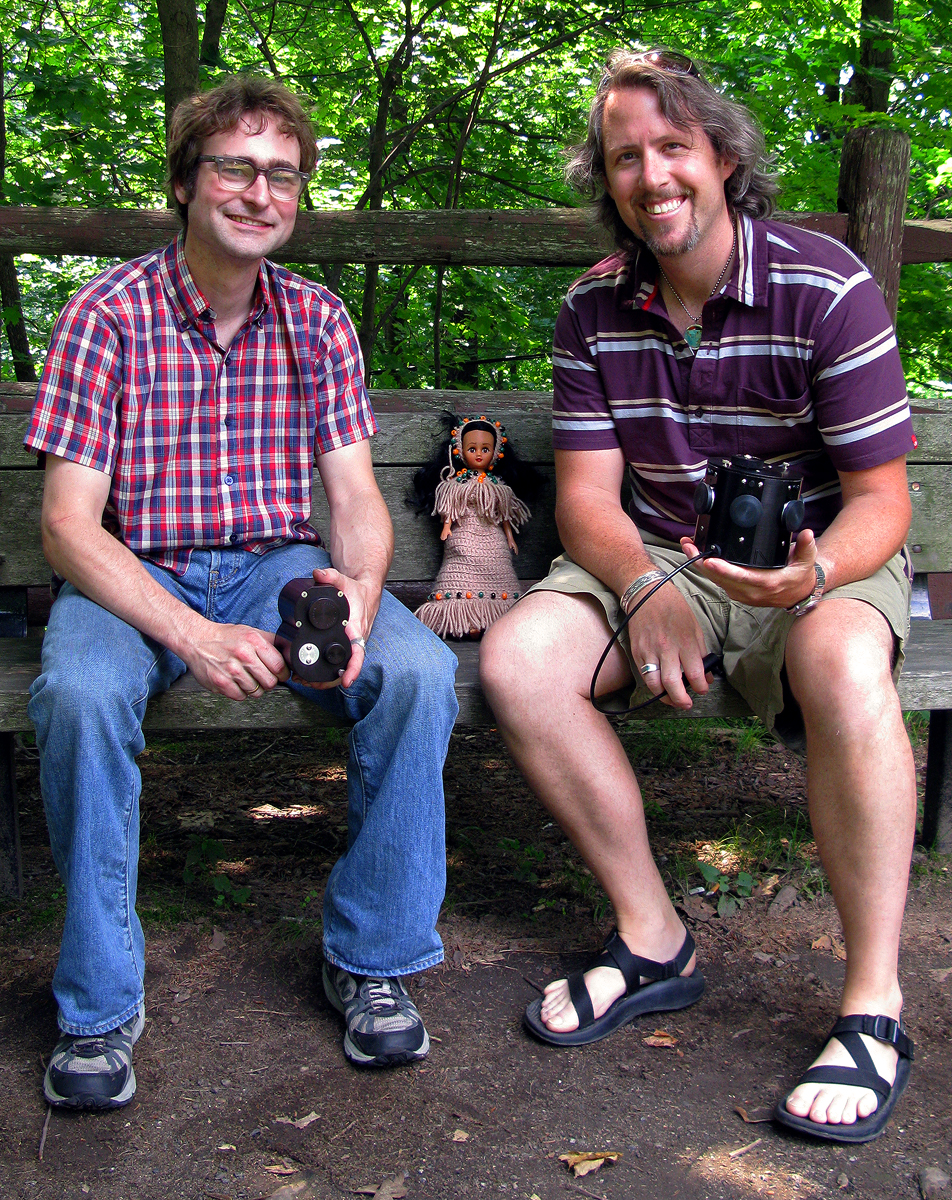
Many of the camera systems I have used over the last 2+ decades have been either custom made or modifications to older systems to “fit” newer capture devices. If the option of custom lens mounts, custom lens caps and complete from the ground up camera systems is new to you then give a listen to this audio blog (click on the AUDIO logo) recorded December 2007 with Adam Dau of S.K. Grimes.
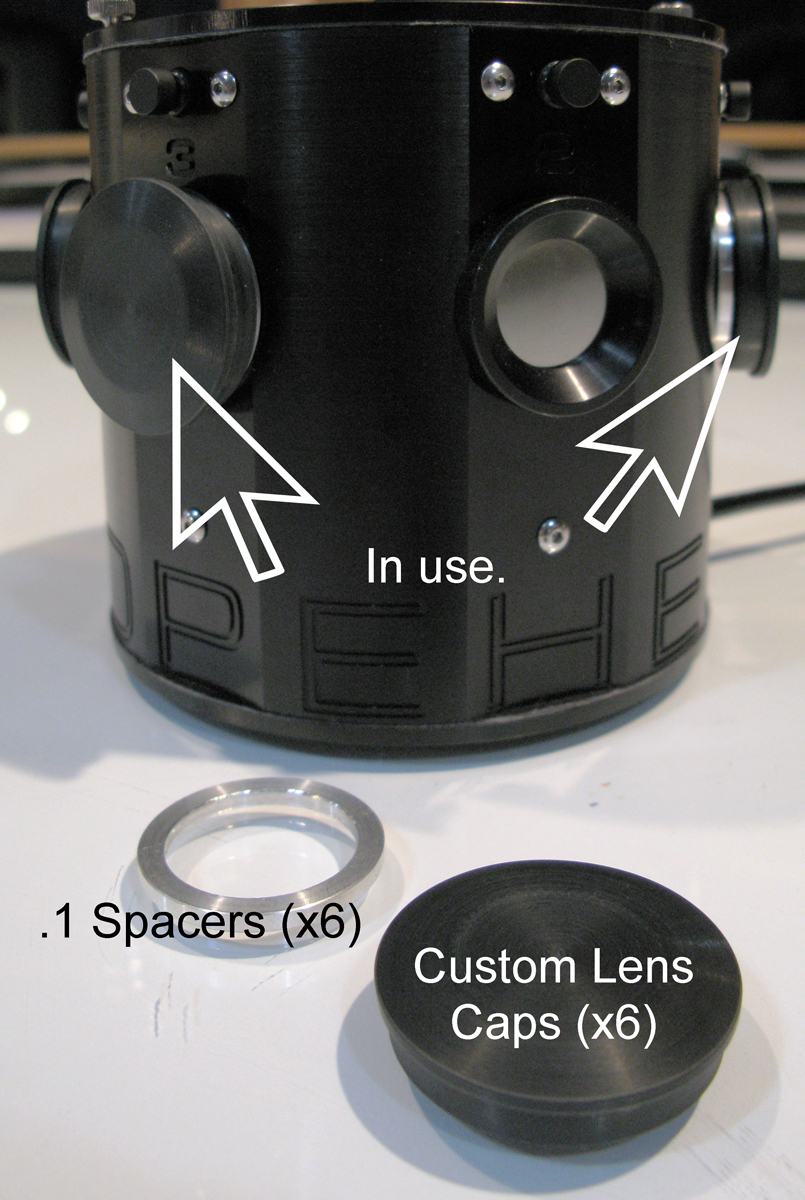
I have also posted (below) an image of my Hexomniscope Camera by Abelson Scope Works with its newest custom accessories…custom made lens caps (or perhaps I should say Pinhole Caps) and .1 spacer rings to allow different controlled positions for the pinhole made for me by Matt Abelson of Abelson Scope Works. For me and my works the OPTION of custom configurations and accessories is essential as I find the out of the box systems and accessories most companies offer miss the mark time after time.
 Also, stay tuned for an exciting audio interview posted early next week with Matt Abelson of Abelson Scope Works.
Viva la Revolution!!
 Exciting news! I have just begun a new project called Vanishing Vermont which, when completed in a year or so, will be a show and book (co-authored with Eve Ogden Schaub) more information as the project develops…
Meanwhile, 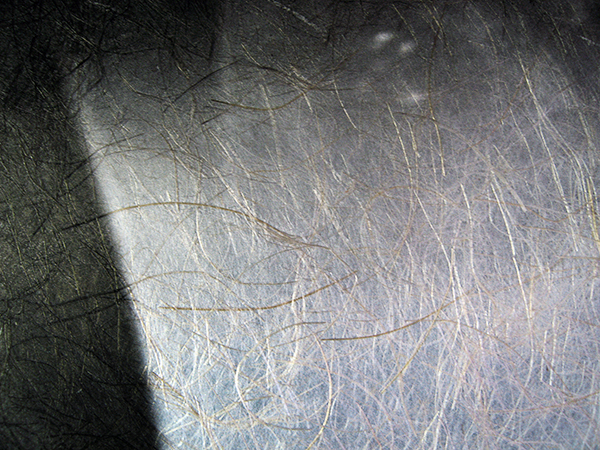
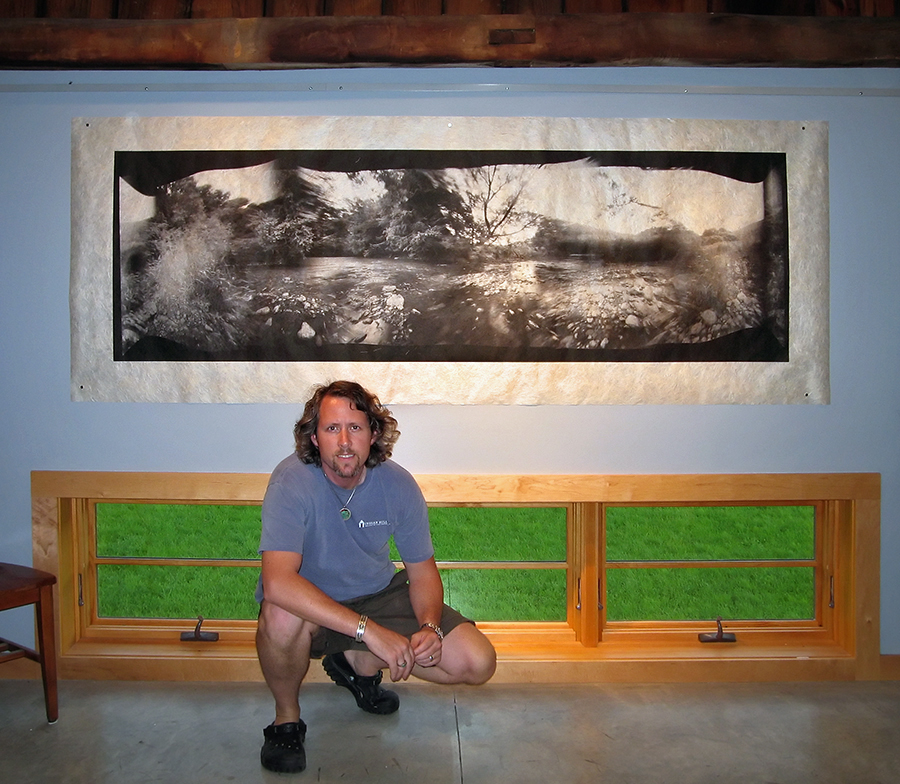
 I have spent the last few months testing different pinhole and zone plate camera systems and have settled on the Hexomniscope by Ableson Scope Works for these new artworks. I’m still in the early stages of working with this new system but the flexibility is amazing (as are the huge 6×17+ cm negatives!) Images are printed on Japanese Kinwashi as a d’Vinci Noir (image size: 28″ x 90″.) The camera is really quite small and weighs in at around 3lb.
 I am off to California tomorrow for a bit of shooting (Yes with this camera) so stay tuned for a full report when I return.
In case you are wondering….Film: Fuji Acros processed in Diafine (of course), 360 degree image (6 images), 8 minutes at f/180.
Viva la Revolution!
 Thoughts on the current state of the photographic industry (film, digital and hybrid) as well as suggestions for reclaiming the web and our industry for ALL photographers…we are all in this together!
 I, like many parents, have a hidden hope that one of my children will someday follow in my footsteps and one day become a photographer… a successful photographer, mind you. My oldest daughter was first introduced to photography when I gave her a Polaroid camera slr 680 (SX-70) at the age of four and then later a lighter new plastic Polaroid Spectra System. She’s now eight and for Christmas received a digital camera from her Uncle Chris and most recently I gave her a 1924 No.2 Kodak Brownie Cartridge Hawk-Eye, Model B from my collection (shoots 120mm, 6×9 cm).
With each new camera comes more questions on photography, art and the general “how do you do that“? Meanwhile, my wife Eve has just returned from a trip to Rochester, NY which included a visit to the George Eastman House – an amazing must pilgrimage for all photographers, whether you like Kodak or not- and purchased a comic book (gotta have a souveneir for the kids!) about George Eastman and the early history of Kodak. I, of course, had to read it (okay, twice) and despite its simplistic narrative it does answer many questions my 8 year old has regarding photography and this “new” Brownie camera she’s received… and it is presented in a manner that is accessable and fun to read. Yes, I know any discussion about Kodak nowadays is fraught with controversy and conflicting opinion but for my daughter it is perfect… and waaay more age appropriate than A World History of Photography by Naomi Rosenblum.
I, for one, would like to let her have her moment of blissful discovery for all things photographic- anger regarding Kodak (not to mention Ilford, Fuji and Agfa (RIP) et al) can come later. You know, like in art school!
Amazon LinK: George Eastman and the Kodak Camera (Inventions and Discovery series)
This short audioblog (under 5 minutes) will give all photographers who want better control over their exposure when using black and white roll films a quick and easy working solution: The 5 Minute Zone System! This is not your grandfather’s full-bore Zone System but rather a user-friendly method for predictable, repeatable results! Just click on the audio link and give it a listen… Viva la Revolution!!
More info on the FULL-BORE Zone System: Click Here!
I’ve been testing a new film recently, Rollei Pan 25 (120mm) processed in Diafine (3+3) and the initial results are quite amazing! The film does have a bit of a nasty curl to it when dry but nothing a glass carrier or oil mounting for scanning won’t fix… Here is a sample image I made using this film (shot on a 1960 Rollei TLR “F” at f/11 at 1/8th, exposed at BOX speed 25!) as well as two detail crops…just click on the thumbs to get an enlargement.
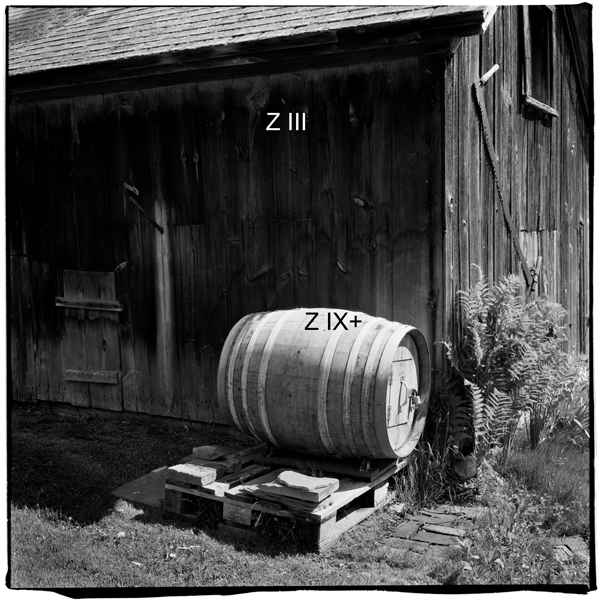
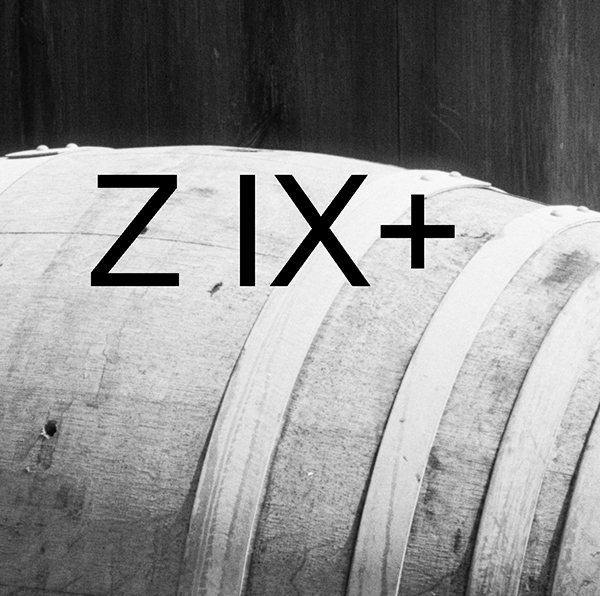
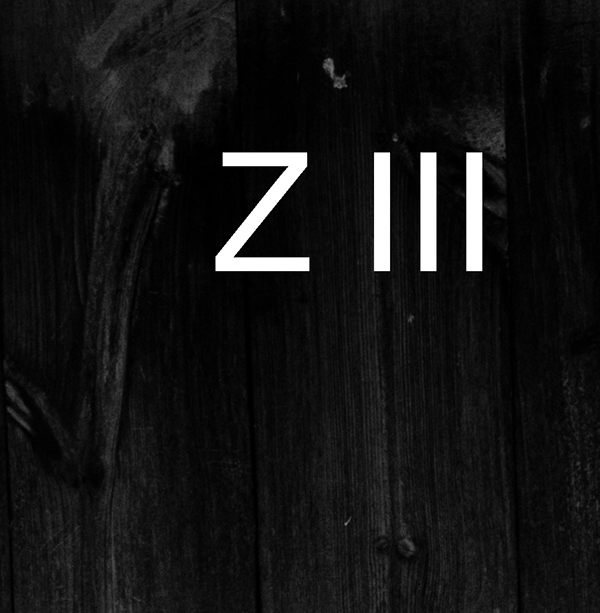
Note: Z= Zone. Also, the usable dynamic of this film is huge…I have great shadow detail down into Zone II (easily) and the highlights are very clean with nothing blocking up and the grain is almost impossible to find!
The final full size image is 20.7″ x 20.7″ at 360dpi (optical scan resolution 3200, 16Bit). It is important to note that NO SHARPENING was applied in scanning or in post processing and NO NOISE REDUCTION has been applied either…the file is au naturale! I will continue to refine this film/ process over the next few days followed by testing of Efke 25 and then a final comparison between Rollei Pan25, Efke 25 and Kodak Technical Pan Film (I have quite a bit of frozen Tech Pan). All images and tests will be shot on 120mm film. Stay tuned!!
Viva la Revolution!!
First a quick bit of background info:
Exposure Index- “EI”- is your personal speed setting for a particular film and developer combo that in most cases is different than the manufacturers posted ISO or ASA data (lots of reasons for this difference) and it reflects a photographer’s specific film requirements with regards to shadow and highlight detail, contrast, grain, etc… Many photographers do extensive testing to determine the best EI for a particular film and developer combo but in the end most photographers settle for a single EI and developer time for a particular film. An example would be- “I shoot Kodak TX at an EI of 1250 and process in Diafine 3+3 at 70F.”
Now for the Diafine Twist:
That tested EI is not the “only perfect EI” but rather just one possible working EI when using Diafine Developer. For example, I have determined that TX processed in Diafine at 3+3 has a USABLE EI range of 400-1250/ 1600…that means that I can rate it at 400 or I can rate it at 1250 if I need to or I can rate it at any in between EI based on subject exposure requirements- there is enough latitude with regards to exposure and development with TX and Diafine that both of these EI are possible for scanning purposes and produce brillant negatives…even one shot right after another on the same roll at a different EI, each would get the same processing time in Diafine– it is like working with the very forgiving Ilford XP2 Super which can handle a range from EI 100-800 (C-41 film) but with real B&W film! (Note: I love XP2 Super but it is a very different looking beast than conventional B&W film.) With a “normal” developer, say D-76, you would need to increase or decrease your development time or temp or both if you changed your EI beyond half a stop with most black and white films.
So here are a few films I use with their USABLE EI range based on my testing. (NOTE: all USABLE EI listed are for Diafine Processing as outlined here on Figital Revolution.)
Final Thought…why would you want to have a different EI for the same film or know the EI range for a particular film? The answer is flexability (how much can I over or under expose and still get a good negative)- with this approach and knowledge let’s say, for example, I am working with a film like Kodak TX-just load a roll in the morning and start shooting and adjust your USABLE or “flexible” EI as the day and lighting change… when you’re done just process the whole roll with your normal Diafine processing time and scan away! The results are consistantly USABLE and amazing.
Ever wonder where the articles and ideas for the articles on the Figital Revolution come from? Tired of your current process or working method and are looking for something new or a new approach. This audio blog provides high energy ideas on suggestions on how to jump start your creative process and redefine yourself as a photographer.
Resource link mentioned in Audio:
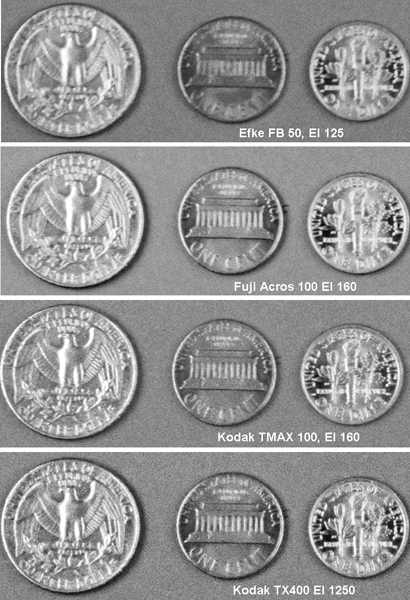
Here is something which is pretty straightforward and yet VERY interesting….a simple test target made by me to determine film sharpness and grain when processed in Diafine:
Just click on the images below and check out the enlargement…the full size image (these are 35mm scanned negatives btw) would be 16″x 25″ at 360 dpi (optical resolution). No sharpening has been applied to the images but I did “try” to make them look as good as possible using levels and a little (I must stress the word little) noise reduction.
So what are your thoughts!?

