Shoot Diana Exposure Calculator

shootdianalogo

Shoot Diana on the 35mm back

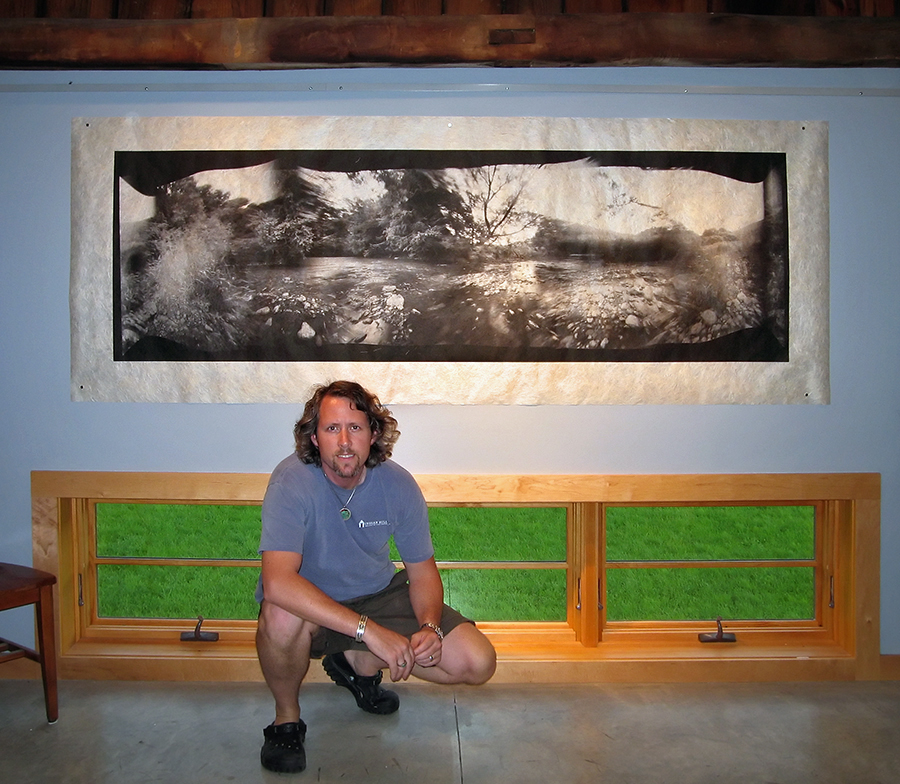
As many of you know I have been working with the Diana F+ camera for some time now for my new series of artworks, A New Eden. In the course of making these works I have spent considerable time working out what I feel is a fast reliable exposure system for the Diana Camera and I have now decided to share the results…(drumroll please)… may I present the Shoot Diana Exposure Calculator. Each chart is a premium vinyl adhesive sticker that can be attached to your camera back or the top of the Diana flash and provides easy to read information for a vast variety of shooting situations for both ISO 100 and 400 speed films.

The Shoot Diana Exposure Calculator differs from the FREE exposure calculator I posted a few days ago, in that it gives the required number of shutter clicks at “N” (1/60th) on the Diana to make the correct exposure for each situation AND it becomes part of your camera (see photo) so there is no way to lose it or forget to put it in your bag… Oh, and did I forget to mention that it is really cheap? Christmas is coming, people!

For more information please visit www.shootdiana.com

or just click here.

Unplugging Your Paper

I spend a lot of time testing and re-testing my materials so that when I need to make a print I can make it perfect the first time. One of the biggest difficulties with printing on uncoated papers is the paper getting plugged up (this a huge problem with the introduction in many new printers of 9+ inks…that’s a whole lot of fluid!) The solution can be simple (note: its not Pepto Bismol) so give this audioblog a listen!

Below: Hariku Example and Link to Test Target!!

Processing Color Film in Diafine Developer

I’ve read mixed reviews about this concept online so I decided I needed to try it myself. I chose Ilford XP2 Super and Kodak BW400CN, both in 35mm as test films. My results were mixed…the Ilford out-performed in my opinion the Kodak (with regards to tonal range as the Kodak was much harsher) but was anything gained over say TX or 125PX in Diafine?…you be the judge. I will say that the look of a print made using this technique is different and in some cases could be used in a very creative way. The test image was shot with a LOMO LCA+ with the Ilford XP2 Super rated at EI 200. Be sure to click on both images to see them at a larger size.

Tech Notes:

  • EI Range for full expressive negatives: 100 – 200
  • Diafine Developer at 80F!!!!
  • Part A for 5 Minutes with two inversions at the start of each minute.
  • Part B for 5 Minutes with two inversions at the start of each minute.
  • Wash for 2 Minutes
  • Fix: 5 Minutes or package suggestion.
  • Wash 5 Minutes
  • Perma Wash: 2 Minutes or package suggestion.
  • Final Wash, LFN and Dry!

I have also found that these negatives scan really nicely using most generic gray scanner profiles and the grain is there but acceptable for a process such as this. Give it a try!

Viva la Revolution!!!!

Final Note: The LOMO LCA+ is a Zone Focus camera and as such comparing the sharpness to say a Leica is a real mismatch…but the LOMO has an amazing quality all its own!

Scott Bridge, The Hexomniscope and Diafine Developer

Scott Bridge from the Vanishing Vermont Series.

I’ve written extensively on this web site about the qualities of Diafine Developer and different Black and White films for the purposes of scanning. Here is an example of Fuji Acros 100 (EI 160, 120MM) shot with my Hexomniscope Pinhole Camera by Abelson Scope Works and processed in Diafine Developer….did I mention that the exposure was F205 at 37 Minutes?! The final print size is 28″ x 90″ and is printing as I type!

Viva la Revolution

Pocohontas Meets Matt Abelson and Stephen Schaub

Pocohontas Meets Matt Abelson and Stephen Schaub, Brattleboro, VT. 2008

Listen to this exciting interview with Matt Abelson of Abelson Scope Works as he talks about his Pinhole Camera Systems(Hexomniscope, Omniscope and Pinhole Turret). Interview by Stephen Schaub.

Note: The Omniscope is in Matt’s hands (left) and the Hexomniscope is in my hands (right)…Pocohontas is just along for the ride.  Also, as mentioned in the audio blog please post questions to Matt Abelson here in the comment section under this post and I will pass it along to Matt so that the questions and answers can accompany this post for the benefit of all.

Viva la Revolution!!

Vanishing Vermont and the Hexomniscope

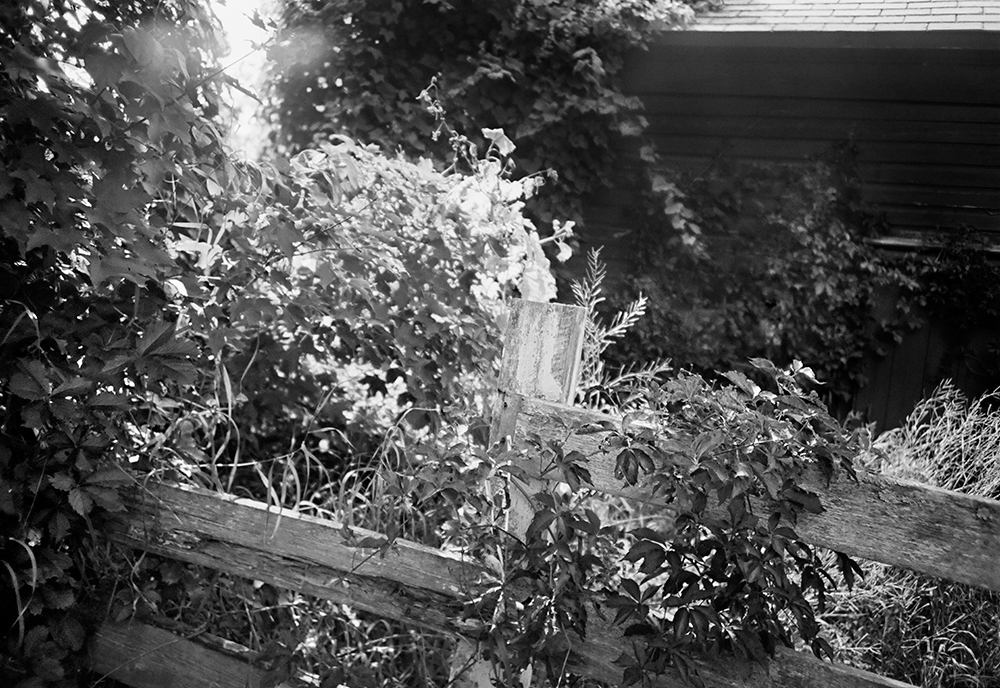
 Exciting news! I have just begun a new project called Vanishing Vermont which, when completed in a year or so, will be a show and book (co-authored with Eve Ogden Schaub) more information as the project develops…

Meanwhile, I have spent the last few months testing different pinhole and zone plate camera systems and have settled on the Hexomniscope by Ableson Scope Works for these new artworks. I’m still in the early stages of working with this new system but the flexibility is amazing (as are the huge 6×17+ cm negatives!) Images are printed on Japanese Kinwashi as a d’Vinci Noir (image size: 28″ x 90″.) The camera is really quite small and weighs in at around 3lb.

I am off to California tomorrow for a bit of shooting (Yes with this camera) so stay tuned for a full report when I return.

In case you are wondering….Film: Fuji Acros processed in Diafine (of course), 360 degree image (6 images), 8 minutes at f/180.

Viva la Revolution!

New Testing Results for InkAid and Film Processing!

The following updates are based on additional testing conducted by me at Indian Hill Imageworks. If your current method works fine for your needs then no worries… otherwise give these “refinements” a try.

Viva la Revolution-
Stephen Schaub

1. Handcoating your own papers with Inkaid- How many coats?: 2+ (12-24 hrs air dry between coats is best). Also be sure to really mix your InkAid…I use a paint mixer which can be found at most good hardware stores attached to a power drill at low speeds- it works great and costs under $10 bucks!

2. Diafine Developer “UNIVERSAL TIME/ AGITATION PROCEDURE”:

  • 4.5 Minutes in A and B with 2 gentle inversions at: Start, 1.5 minutes, 3 minutes and again at 4 minutes…dump at end (4.5 minutes and then do the same 4.5 minutes with B.) This increased standing time produces some fantastic negatives! 
  • NO PRE WET
  • Developer Temp between 70-75 F (temp does not affect the developer but temp does affect the film’s emulsion…big difference between film at 68F and film at 80F!
  • All films tested here on FR for the purposes of scanning can be processed using this “UNIVERSAL TIME/ AGITATION PROCEDURE” for scanning purposes. Just as a note, I only use metal reels and tanks.

3. 320 TXP and 400 TX are DIFFERENT FILMS (yes I know this is obvious but…)

  • EI Range for 320 TXP (120mm)…EI 320
  • EI Range for 400 TX (35mm and 120mm)…EI 400-1600 (800-1250 best)

4. Fuji Acros EI 160 using UNIVERSAL DIAFINE TIME… my new favorite film/ developer combo!

Final Note: The “UNIVERSAL TIME/ AGITATION PROCEDURE” has been tested for scanning purposes only.

28mm Zone Plate meets the M7 and Diafine Developer

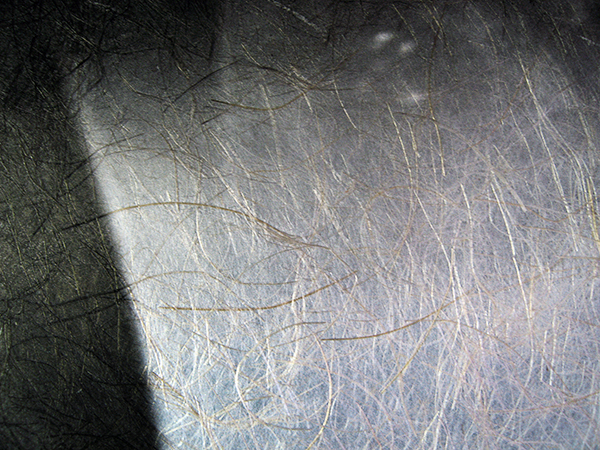
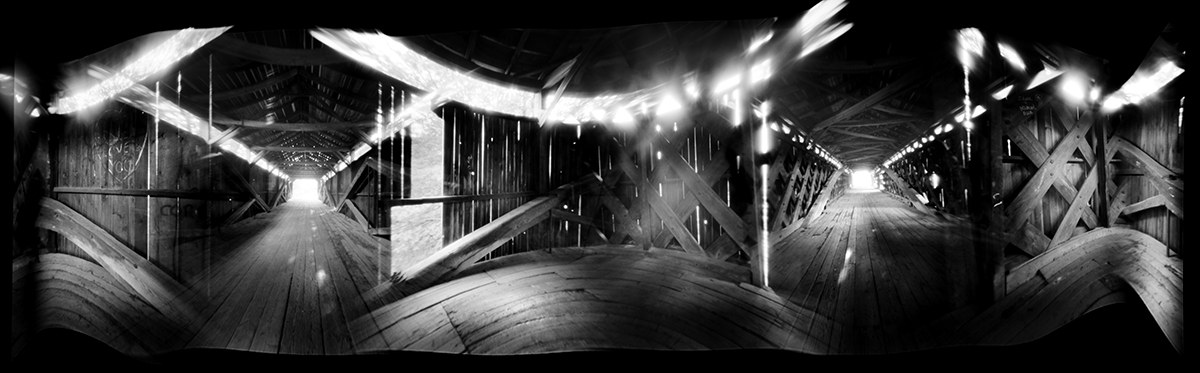
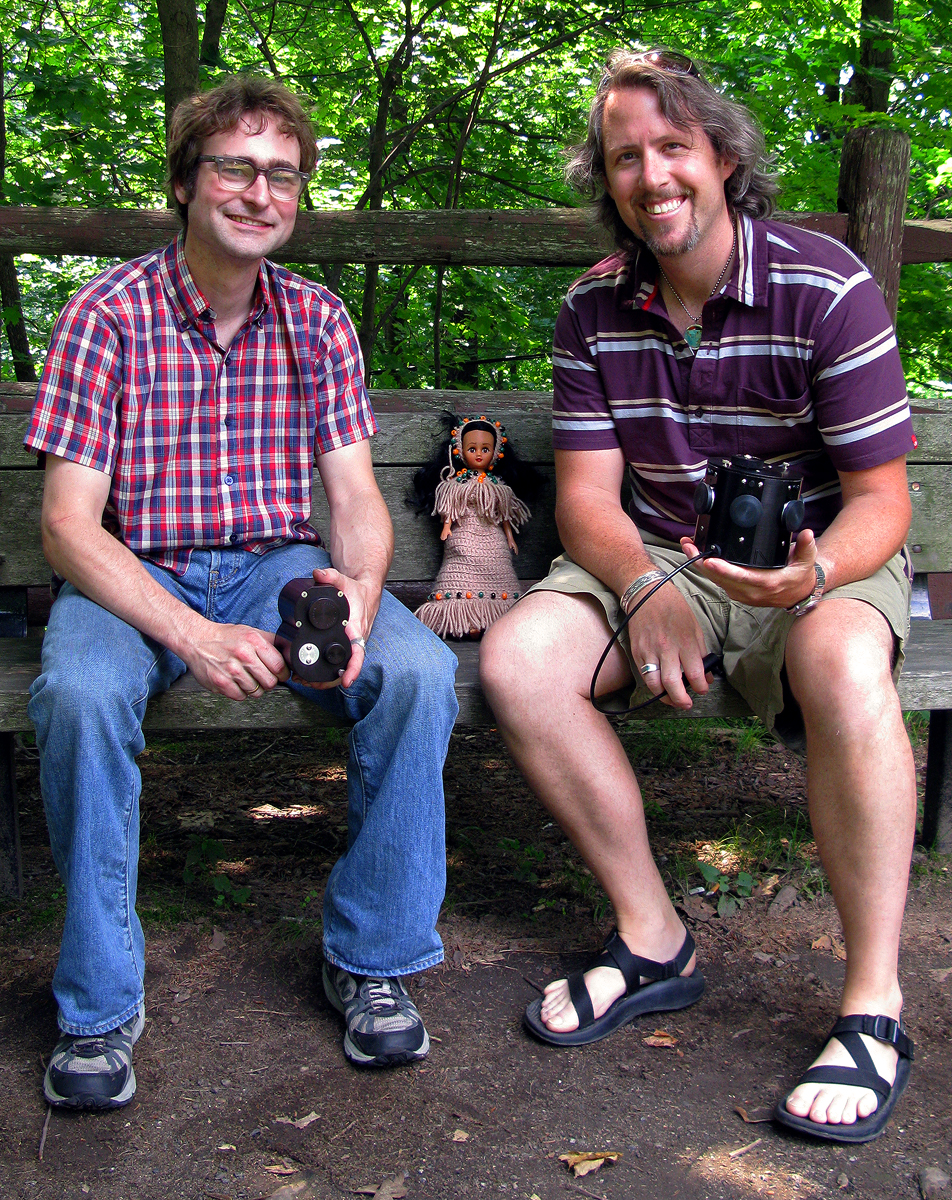
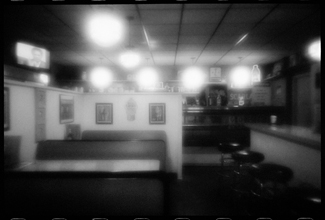
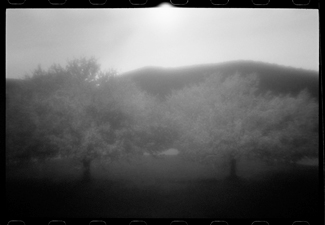
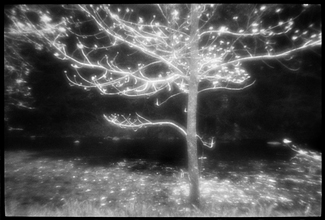
Some years ago I did extensive work with pinholes, Zone plates and Holga camera systems, specifically for my Through A Glass Darkly artworks and book. Recently I decided to give a Zone Plate a try on my Leica M7 (it is a 28mm f/32 Zone Plate I purchased from Pinhole Resources) and TX processed as I have already outlined here on the Figital Revolution using Diafine Developer. It seems to me that this combo of TX/ Diafine/ Zone Plate and Leica M are a perfect combo. The TX and Diafine Developer really help control the Zone Plate with regards to contrast and it also gives me a high enough EI to make hand held shots very possible (my usable range for TX in Diafine is 400-1600). The M7, or really any rangefinder camera system is nice as the image view is not reduced (illumination) by looking through the Zone Plate as would be the case with an SLR (of course this means that you will have to visualize your final image as none of the Zone Plate qualities will be visible until you process your film assuming you’re using a film rangefinder). Of course digital capture would give you instant feed back (did this a few years ago in the American Southwest) but I just love the look of this combo. Scans were done in house at Indian Hill Imageworks on our Imacon Scanner, wet mount at 3200 optical dpi- a few resulting images are below from my first roll…


For more information on using a Zone Plate or for that matter what is a Zone Plate check out the links below.

Viva la Revolution!

Diafine Developer and TX…Part 2.5

060 Filter B+W

OK, this is a quickie. I’ve been running some tests here at Indian Hill Imageworks to determine if using contrast filters such as:

  • Light Yellow 021
  • Light Red 090
  • Yellow Green 060

would cause a problem with this awesome film/ developer combo. Answer: NO. I personally like no filter or a ND if I’m shooting in bright light (remember TX in Diafine has an EI of 1250 to 1600 so unless you like F22 at 1/1000th its ND (Neutral Density) or Contrast Filter time!) I love the full gray tones of this film/ developer combo and find the “straight neg” is the easiest to scan and get every bit of tonality.

NOTE: On the Light Red 090 just be very careful with your shadow placement.

NOTE 2: ONLY use good filters…I like B+W and Heliopan…Yes they are expensive but worth it! Here is great resource for an explanation of Filter Flare and other optical stuff!

What, you say?! No sample pictures with this article (horrors)!!???…Go make them yourself you lazy bum, I’m tired! (A joke, of course- I’m never tired!)

My final article in this series on printing and hand coating your own inkjet papers will be out very soon…stay tuned!

Viva la Revolution!! Stephen Schaub

Scanning, Color Mangement and Photoshop…The Diafine and TX Sage…Part 2

As promised here is the next installment in the ongoing exploration of Diafine Developer and TX. In these videos hybrid artist and master printer Stephen Schaub (The Leader) discusses scanning techniques, color management considerations and Photoshop techniques to maximize your Diafine processed TX negatives!! (Please note that due to a time limitation on Youtube the video has been broken into two parts so be sure to watch BOTH videos!!)

Video ONE

Video TWO

Stay tuned for part 3 of the Diafine and TX saga early next week on the Figital Revolution!

Resource Links

Noise Ninja

Pixel Genius (Photo Kit Sharpening Software)

Kami Scanning Supplies

Ergosoft High Fidelity Inkjet RIP Software

Eizo Monitors

Viva la Revolution!!