Leica 28mm F2.8 ASPH Distortion Test

OK, the proof is in the pudding or in this case the print… I shot this quick portrait of my wife Eve this afternoon in our front yard, had my sophisticated lab soup the C41 (Rite Aid) and I did a quick scan on the Imacon… the lens (Leica 28mm F2.8 ASPH) was focused at 3 or 3.5 feet at F 2.8 / F4 (I shot a variety at each)… distortion, what distortion?… seriously there is a bit of distortion but this is fantastic for a wide angle lens at this close of a distance… again 3 feet! The OOF rendering is also quite nice for a 28mm lens. Is the 28mm my new portrait lens?… NO, but it is nice to “see” that in a pinch or a very tight space it very well could be an option.  Film, Kodak Ektar of course.

eve28mm3footdistoriontest

Eve, Vermont. 2009
Copyright Stephen Schaub

The New Kodak Ektar Film in 120 – A Quick Review

As promised here is a quick review of the new Kodak Ektar film in 120!

Full 120 Ektar Test Image

Click on image to see crop detail… full size image is 40″ x 40″, crop detail is a 4.5″ x 4.5″ section outlined in the above image as a white box. 

Technical Stuff… 

  • Camera: Rollei TLR “F”
  • Exposure: 1/60 at F11
  • Film: Kodak Ektar 120, EI 64 (Same as my test for the 35mm version.)
  • Scanned on an Imacon Scanner, dry.  I did my scan using a color setup I had created for the 35mm version of this film (scanner setting all balanced to a Macbeth Color Chart in direct sun) and found that it matched perfectly when opened in Photoshop.

 macbeth-color-checkerColor Chart Example. 

  • Photoshop adjustments limited to levels.
  • Full Size File: 600MB at 360 DPI which equals a 40″ x 40″ Print.
  • Cropped area equals a 4.5″ x 4.5″ section of the full 40″ x 40″ Print.

Conclusion… as with the 35mm version of this new film from Kodak it is hard to find something not to like… it scans quite easily, has great contrast and color, very fine grain with good sharpness. Again, I feel that it performs better in contrasty light at and EI of 64 than the box speed of 100 but that is just my opinion. Link to First Ektar Article here on FR.

ONE QUESTION… did you see the bent nail in the detail crop?… WOW!

Viva la Revolution-
Stephen

Buying Used Photographic Equipment

AudioBlog Logo

Buying used photographic gear can be a great way to save a few bucks and get that lens or camera body you’ve been dreaming of now. In this audioblog I outline a few suggestions to consider when buying used gear online or at a photographic store.

The artwork below was just made with my “used” Leica M7 and my “used” Leica 90mm Elmarit Lens.

leafearringsvermont2009springm7

Last Year’s Leaves, Vermont. 2009
From A New Eden
Leica M7 with 90mm Elmarit Lens
In Camera Overlapping Frame Panoramic Technique, 3X
Kodak Ektar Film
Printed 9.5″ x 25″ on Fabriano 640 gsm Rough, Hand Coated.
Copyright Stephen Schaub 2009

detailvermont09

Print surface detail, hand-coated Fabriano.

The Corrupted M7 Meets Kodak Ektar

Ah yes I had a bit too much time on my hands Friday… I just figured out a method for slipping film in my Leica  M7 using a similar technique I’ve outlined here for the XA and LCA camera systems… somewhere there is a German engineer grinding his teeth!

Early Spring, Vermont. 2009

Early Spring, Vermont. 2009
Leica M7 with 50mm Summilux F 1.4 Lens
In Camera Overlapping Frame Panoramic Technique, 3X
Kodak Ektar Film
Printed 10″ x 25″ on Fabriano 640 gsm Rough, Hand Coated.
Copyright Stephen Schaub 2009

Part 2 – Is Cross Processing or XPRO Dead?

AudioBlog Logo

This is Part 2 to the post I made yesterday…more thoughts. A good sub-title for this would be: Process Does Matter!

Viva la Revolution- Stephen

New Kodak Ektar 100 Film – Part 1

I was lucky enough to get a brick plus (35mm) of the new Kodak Ektar film at Photo Expo Plus in NYC… so when I returned to my studio in Vermont I quickly loaded my Leica M7 with a roll and decided to make a few “test” shots around my yard.

Image Results:

The Full Size image is a 20″ x 30″ print- the crop represents a 4″ x 4″ section of the full size.

Testing Specs:

  • Leica M7 with Leica Summilux 50mm 1.4 Lens
  • F 5.6 at 1/125, Hand-held
  • Film was rated at Box Speed (more on this later…)
  • Scan was done on an Imacon with NO sharpening applied, scanned at 6300 dpi.
  • Photoshop work was limited to white point and black point, no color correction, no noise reduction, no sharpening, no curves…

Image Size/ File Size Info:

  • 309 MB file at 300 Optical DPI, 16 Bit
  • 20″ x 30″ Print Size

Initial Thoughts:

This new offering by Kodak has very tight grain (this is 35mm folks!!) with good, bold color but still “neutral/ natural” in feel. My initial feeling is that it is a bit slower than box speed (normal for most negative material). On my next test roll I will rate it around 50-64 which should be perfect (with color negative material its better to be safe than sorry with regards to your exposure!). Box Speed (ASA 100) is usable, but under difficult lighting situations underexposure is just too great a risk. So far… I am very impressed…stay tuned for Part 2 in a few days.

Viva la Revolution!

Processing Color Film in Diafine Developer

I’ve read mixed reviews about this concept online so I decided I needed to try it myself. I chose Ilford XP2 Super and Kodak BW400CN, both in 35mm as test films. My results were mixed…the Ilford out-performed in my opinion the Kodak (with regards to tonal range as the Kodak was much harsher) but was anything gained over say TX or 125PX in Diafine?…you be the judge. I will say that the look of a print made using this technique is different and in some cases could be used in a very creative way. The test image was shot with a LOMO LCA+ with the Ilford XP2 Super rated at EI 200. Be sure to click on both images to see them at a larger size.

Tech Notes:

  • EI Range for full expressive negatives: 100 – 200
  • Diafine Developer at 80F!!!!
  • Part A for 5 Minutes with two inversions at the start of each minute.
  • Part B for 5 Minutes with two inversions at the start of each minute.
  • Wash for 2 Minutes
  • Fix: 5 Minutes or package suggestion.
  • Wash 5 Minutes
  • Perma Wash: 2 Minutes or package suggestion.
  • Final Wash, LFN and Dry!

I have also found that these negatives scan really nicely using most generic gray scanner profiles and the grain is there but acceptable for a process such as this. Give it a try!

Viva la Revolution!!!!

Final Note: The LOMO LCA+ is a Zone Focus camera and as such comparing the sharpness to say a Leica is a real mismatch…but the LOMO has an amazing quality all its own!

Scott Bridge, The Hexomniscope and Diafine Developer

Scott Bridge from the Vanishing Vermont Series.

I’ve written extensively on this web site about the qualities of Diafine Developer and different Black and White films for the purposes of scanning. Here is an example of Fuji Acros 100 (EI 160, 120MM) shot with my Hexomniscope Pinhole Camera by Abelson Scope Works and processed in Diafine Developer….did I mention that the exposure was F205 at 37 Minutes?! The final print size is 28″ x 90″ and is printing as I type!

Viva la Revolution

Thoughts on the New Mega-Pixel Monsters

The Mega-Pixel wars are still hot with the introduction of Hasselblad’s new 50MP Digital Back (H3DII-50) and Phase One’s new 60MP Digital Back (P65+)…but, really, who is the market for these new bleeding-edge systems? Does anyone really need 60MP? Can anyone besides my dentist really afford it? Click on the audio logo for more! By Stephen Schaub.

Vanishing Vermont and the Hexomniscope

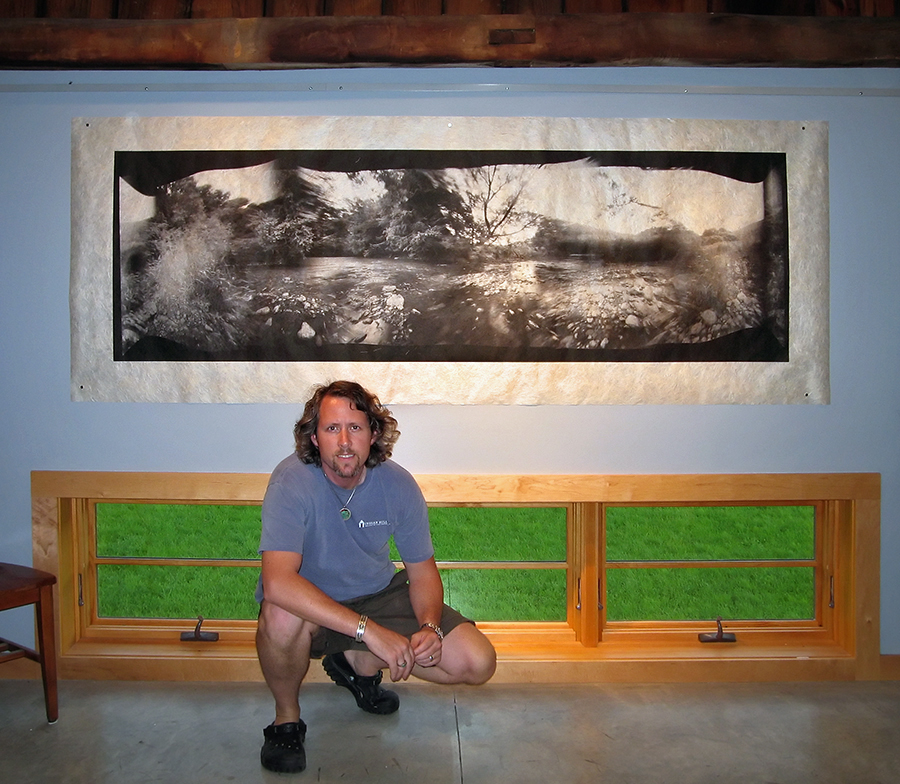
 Exciting news! I have just begun a new project called Vanishing Vermont which, when completed in a year or so, will be a show and book (co-authored with Eve Ogden Schaub) more information as the project develops…

Meanwhile, I have spent the last few months testing different pinhole and zone plate camera systems and have settled on the Hexomniscope by Ableson Scope Works for these new artworks. I’m still in the early stages of working with this new system but the flexibility is amazing (as are the huge 6×17+ cm negatives!) Images are printed on Japanese Kinwashi as a d’Vinci Noir (image size: 28″ x 90″.) The camera is really quite small and weighs in at around 3lb.

I am off to California tomorrow for a bit of shooting (Yes with this camera) so stay tuned for a full report when I return.

In case you are wondering….Film: Fuji Acros processed in Diafine (of course), 360 degree image (6 images), 8 minutes at f/180.

Viva la Revolution!