
indian hill imageworks
Schaub Artworks at the Kent Museum
Very excited about this upcoming show at the Kent Museum…. for more information click on the image:

If you have never been to the KENT Museum it is an amazing space in one of the most beautiful settings… it’s a must visit! — at The Kent Museum.
Farm to Table = Film to Camera
Click on the audio button to hear my post on how changing the distribution model for film is key to the sustainable future of analog photography.
Viva la Revolution- Stephen
Publishing Your Own Photography Book
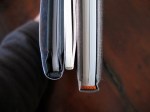
 Having published 4 books in the last 10 years and seen radical transformations in not only the printing process but also in the selling of art books I decided to record this audio blog for anyone considering publishing their own book whether using a full scale fine art press, publisher or an online printing service. See the example images below for specific examples that are mentioned in the audio. Also, please comment on printing services you have used with your thoughts as well as suggestions that may be of interest/ help to our community.
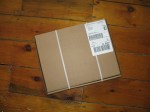
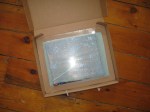
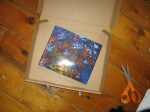
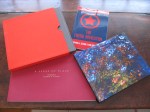
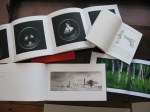

Here is a nice online marketing badge provided by Blurb, for Free, so people interested in your book can have a direct link to its page on Blurb (note that I have one here in the right side bar and also on stephenschaub.com. Included are book specifications, cost, delivery options and a 15 page book preview (this is an option that you can decide to do or not do…you should do it) that I feel really helps sell your book.

Testing New Canson Papers

Burning the midnight oil at Indian Hill Imageworks!!! Just how many patches are in the icc. test target?…over 2,200!!
Stay tuned for my thoughts/ review on my first tests: Rives BFK and Arches Platine!
Now back to printing!
Viva la Revolution!
Stephen
The Nightmare Print
Every photographer has his or her own “nightmare” print story- some more than one! In this audio blog I discuss how I (Stephen Schaub) work through a nightmare print at Indian Hill Imageworks- give a listen!
Hariku Paper, “Cloud Dragon Paper”, as mentioned in the audioblog as well as the “Nightmare” Print.


Custom Camera Accessories and Conversions
Many of the camera systems I have used over the last 2+ decades have been either custom made or modifications to older systems to “fit” newer capture devices. If the option of custom lens mounts, custom lens caps and complete from the ground up camera systems is new to you then give a listen to this audio blog (click on the AUDIO logo) recorded December 2007 with Adam Dau of S.K. Grimes.
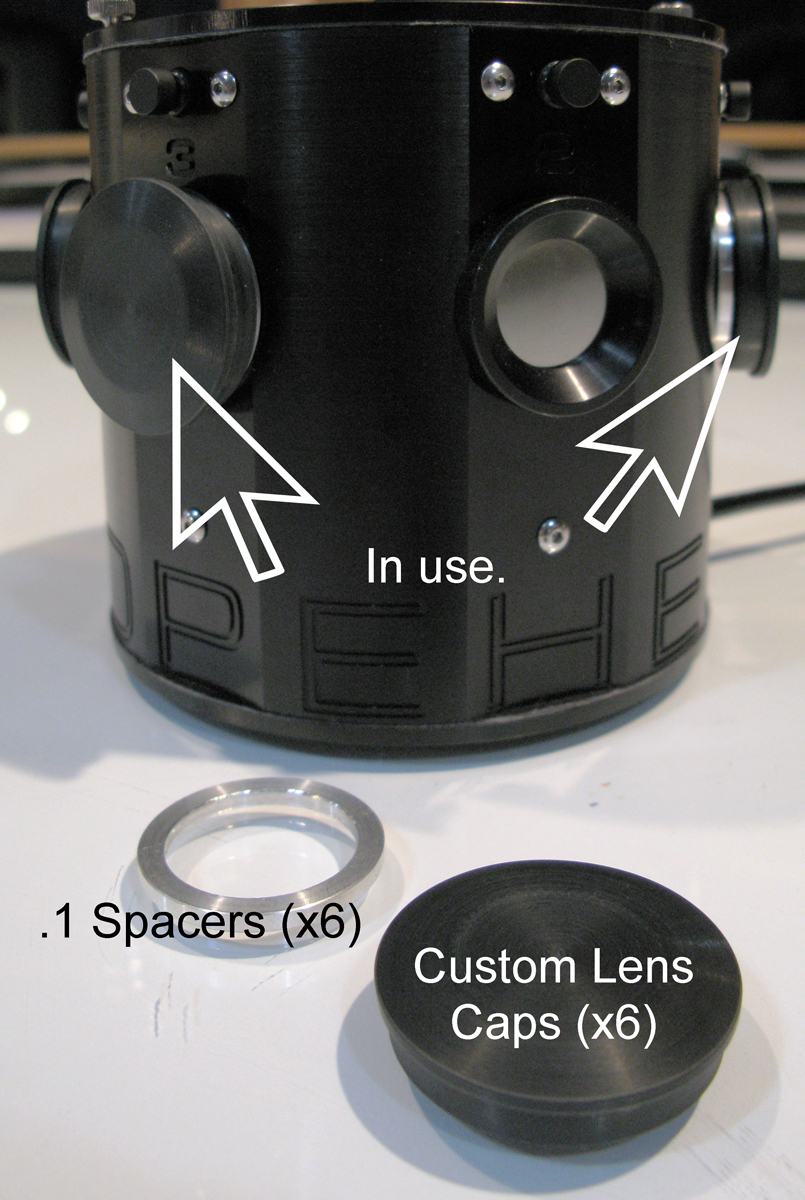
I have also posted (below) an image of my Hexomniscope Camera by Abelson Scope Works with its newest custom accessories…custom made lens caps (or perhaps I should say Pinhole Caps) and .1 spacer rings to allow different controlled positions for the pinhole made for me by Matt Abelson of Abelson Scope Works. For me and my works the OPTION of custom configurations and accessories is essential as I find the out of the box systems and accessories most companies offer miss the mark time after time.
 Also, stay tuned for an exciting audio interview posted early next week with Matt Abelson of Abelson Scope Works.
Viva la Revolution!!
Vanishing Vermont and the Hexomniscope
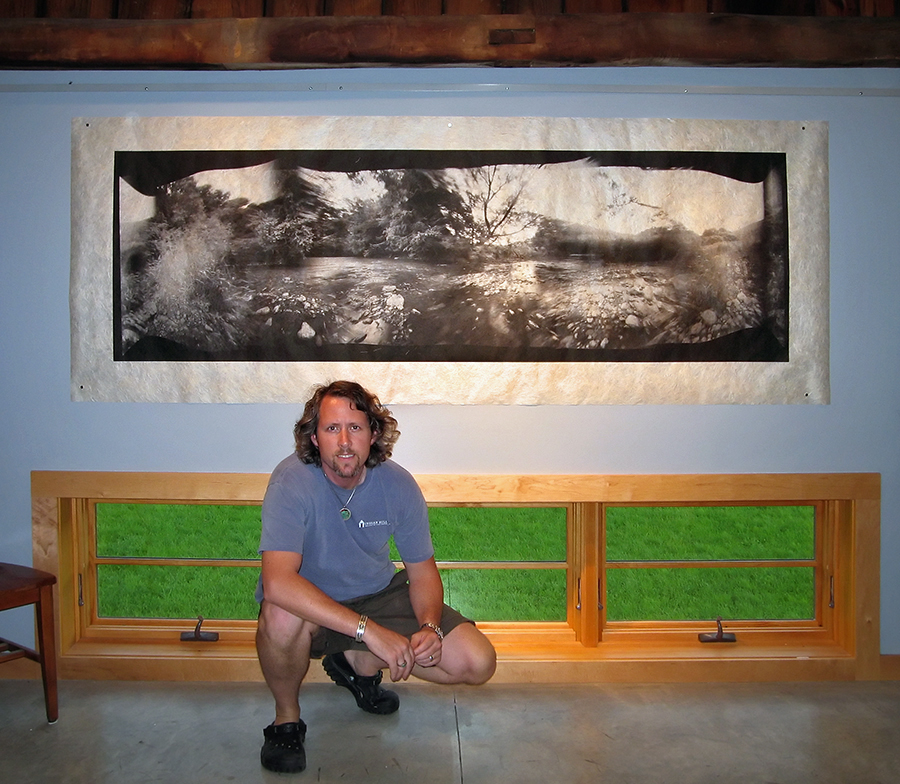
 Exciting news! I have just begun a new project called Vanishing Vermont which, when completed in a year or so, will be a show and book (co-authored with Eve Ogden Schaub) more information as the project develops…
Meanwhile, 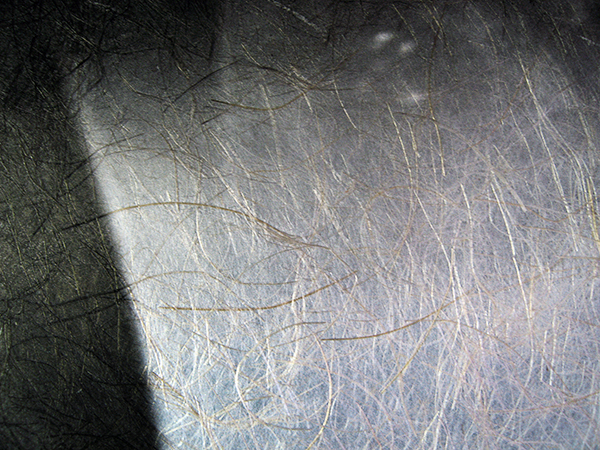
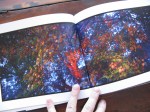
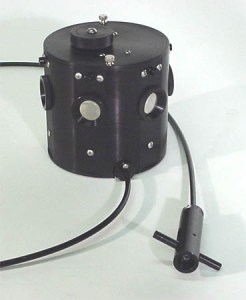 I have spent the last few months testing different pinhole and zone plate camera systems and have settled on the Hexomniscope by Ableson Scope Works for these new artworks. I’m still in the early stages of working with this new system but the flexibility is amazing (as are the huge 6×17+ cm negatives!) Images are printed on Japanese Kinwashi as a d’Vinci Noir (image size: 28″ x 90″.) The camera is really quite small and weighs in at around 3lb.
 I am off to California tomorrow for a bit of shooting (Yes with this camera) so stay tuned for a full report when I return.
In case you are wondering….Film: Fuji Acros processed in Diafine (of course), 360 degree image (6 images), 8 minutes at f/180.
Viva la Revolution!
When Sharp is REALLY Sharp: High Resolution Films, Part 1
I’ve been testing a new film recently, Rollei Pan 25 (120mm) processed in Diafine (3+3) and the initial results are quite amazing! The film does have a bit of a nasty curl to it when dry but nothing a glass carrier or oil mounting for scanning won’t fix… Here is a sample image I made using this film (shot on a 1960 Rollei TLR “F” at f/11 at 1/8th, exposed at BOX speed 25!) as well as two detail crops…just click on the thumbs to get an enlargement.
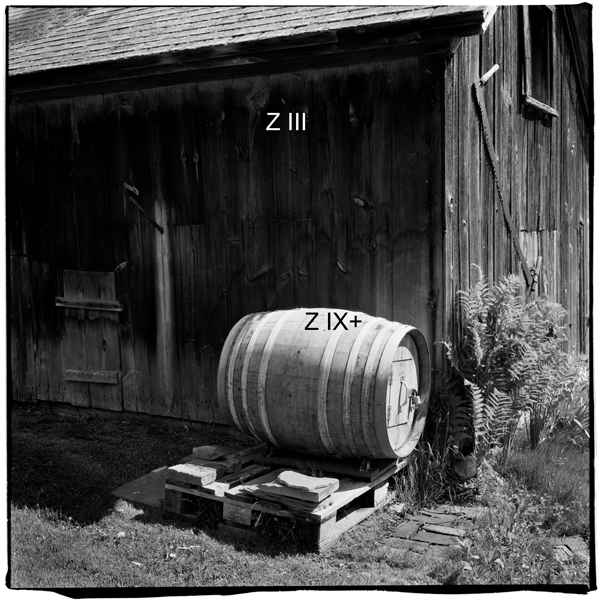

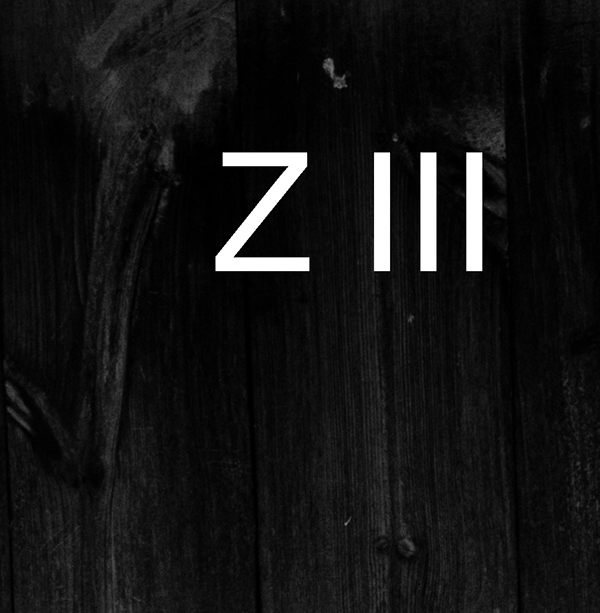
Note: Z= Zone. Also, the usable dynamic of this film is huge…I have great shadow detail down into Zone II (easily) and the highlights are very clean with nothing blocking up and the grain is almost impossible to find!
The final full size image is 20.7″ x 20.7″ at 360dpi (optical scan resolution 3200, 16Bit). It is important to note that NO SHARPENING was applied in scanning or in post processing and NO NOISE REDUCTION has been applied either…the file is au naturale! I will continue to refine this film/ process over the next few days followed by testing of Efke 25 and then a final comparison between Rollei Pan25, Efke 25 and Kodak Technical Pan Film (I have quite a bit of frozen Tech Pan). All images and tests will be shot on 120mm film. Stay tuned!!
Viva la Revolution!!
28mm Zone Plate meets the M7 and Diafine Developer
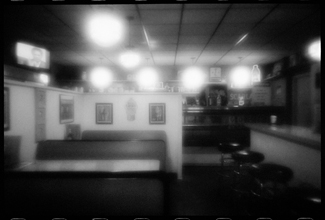
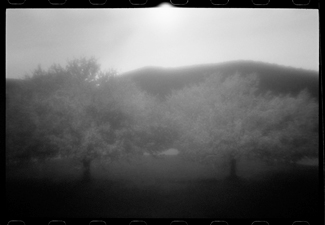
 Some years ago I did extensive work with pinholes, Zone plates and Holga camera systems, specifically for my Through A Glass Darkly artworks and book. Recently I decided to give a Zone Plate a try on my Leica M7 (it is a 28mm f/32 Zone Plate I purchased from Pinhole Resources) and TX processed as I have already outlined here on the Figital Revolution using Diafine Developer. It seems to me that this combo of TX/ Diafine/ Zone Plate and Leica M are a perfect combo. The TX and Diafine Developer really help control the Zone Plate with regards to contrast and it also gives me a high enough EI to make hand held shots very possible (my usable range for TX in Diafine is 400-1600). The M7, or really any rangefinder camera system is nice as the image view is not reduced (illumination) by looking through the Zone Plate as would be the case with an SLR (of course this means that you will have to visualize your final image as none of the Zone Plate qualities will be visible until you process your film assuming you’re using a film rangefinder). Of course digital capture would give you instant feed back (did this a few years ago in the American Southwest) but I just love the look of this combo. Scans were done in house at Indian Hill Imageworks on our Imacon Scanner, wet mount at 3200 optical dpi- a few resulting images are below from my first roll…

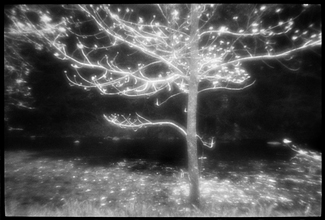
For more information on using a Zone Plate or for that matter what is a Zone Plate check out the links below.
Viva la Revolution!
