
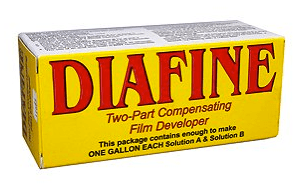
 So currently in my JOBO CPP2 I am running Diafine full strength Part A and full strength Part B for 5 minutes for all BW films at rotation setting “F” which is around 40 rpm. After part B I increase the rotation to “P” which is around 80 rpm and keep it at that for the remainder of the process. My tests have shown that times around 7+ minutes in A/B can stain some films- yet 5 minutes in A/B at 75F seems about spot on to me and perfect for most scanning applications. The 1:1 development of Diafine decreases the shadow detail at higher EI… for example at 1:1 TX dies after about EI 800 whereas with the full strength process as outlined above EI 1600+ is very solid (note: box speed at 1:1 is about perfect- for box speed). With regards to streaking…. none, full strength or 1:1. An obvious advantage to full strength is that Diafine can be used over and over again for a lot of film where as the 1:1 is a one shot developer. I have personally used Diafine (1 gal A/B) full strength for well over a year without issue…. if it becomes a bit dirty just run it through a new clean coffee filter and presto! Perfect developer ready for more film.
Viva la Revolution- Stephen

 The Focal Encyclopedia of Photography, Fourth Edition is a must-have for every serious photographer… period. An earlier edition was a constant resource for me while at RIT and now this newer edition is my Xmas gift to myself this year… it is expensive but well worth it. It is quite thick and full of very useful content on just about every photographic topic imaginable from film to digital and beyond… and if the heat bills get too high this winter I can burn it to stay warm… or my wife could throw it at me to knock some sense into me or perhaps I could learn something about this wonderful medium we all love… either way it will be my constant companion for the dark winter months here in VT. Be sure to add this gem to your holiday wish-list today!


